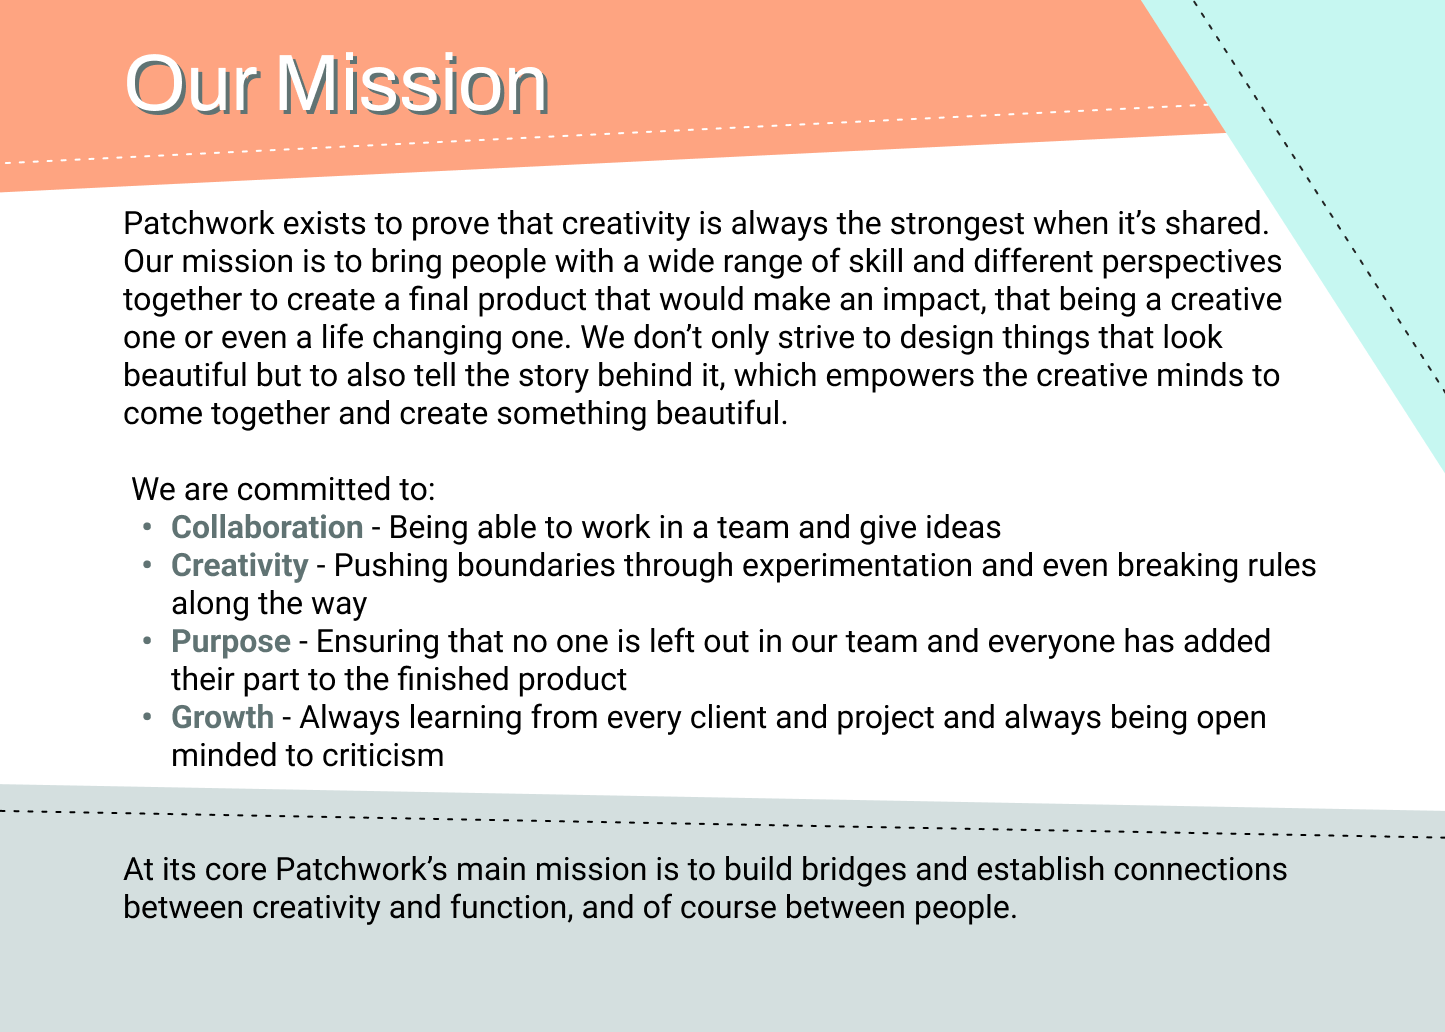
Learning Outcome 1
You create engaging concepts and translate them into professional validated media products by applying user-centered design principles, visual design techniques and by exploring emerging trends and developments in media, design and technologies.
Proof 1
This was the very first moodboard I made for my portfolio, and the goal was simple: get a website up and running fast, with minimal effort, without overthinking. Even though it was made in a short time, it still pushed me in the right direction by giving me a clear vibe to build around instead of starting from nothing.
link to my old moodboard: moodboord
Proof 2
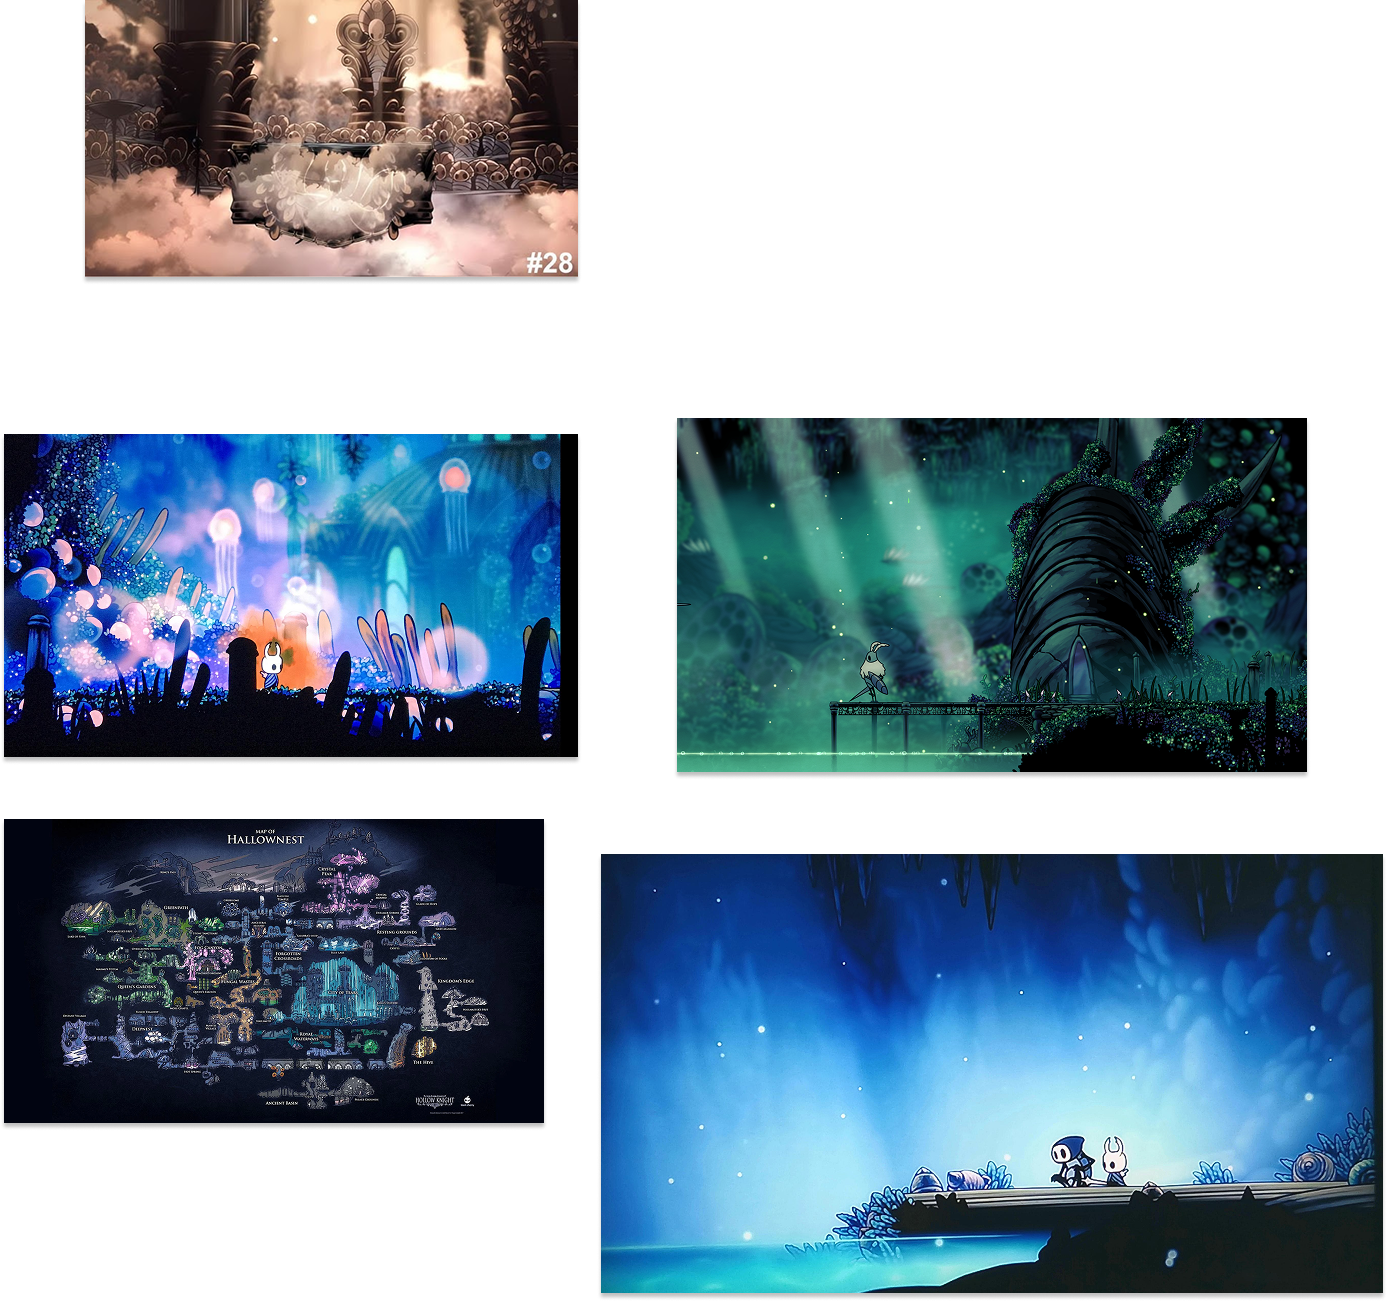
For the last assessment I made a new moodboard because I wanted the portfolio to feel more “gamified” and playful, not just a normal website. I collected images that had game vibes, but also some images that I only used for color, so I could pull a palette that still fits the vibe without forcing it.
Link to figma with moodboard: Figma

Proof 3
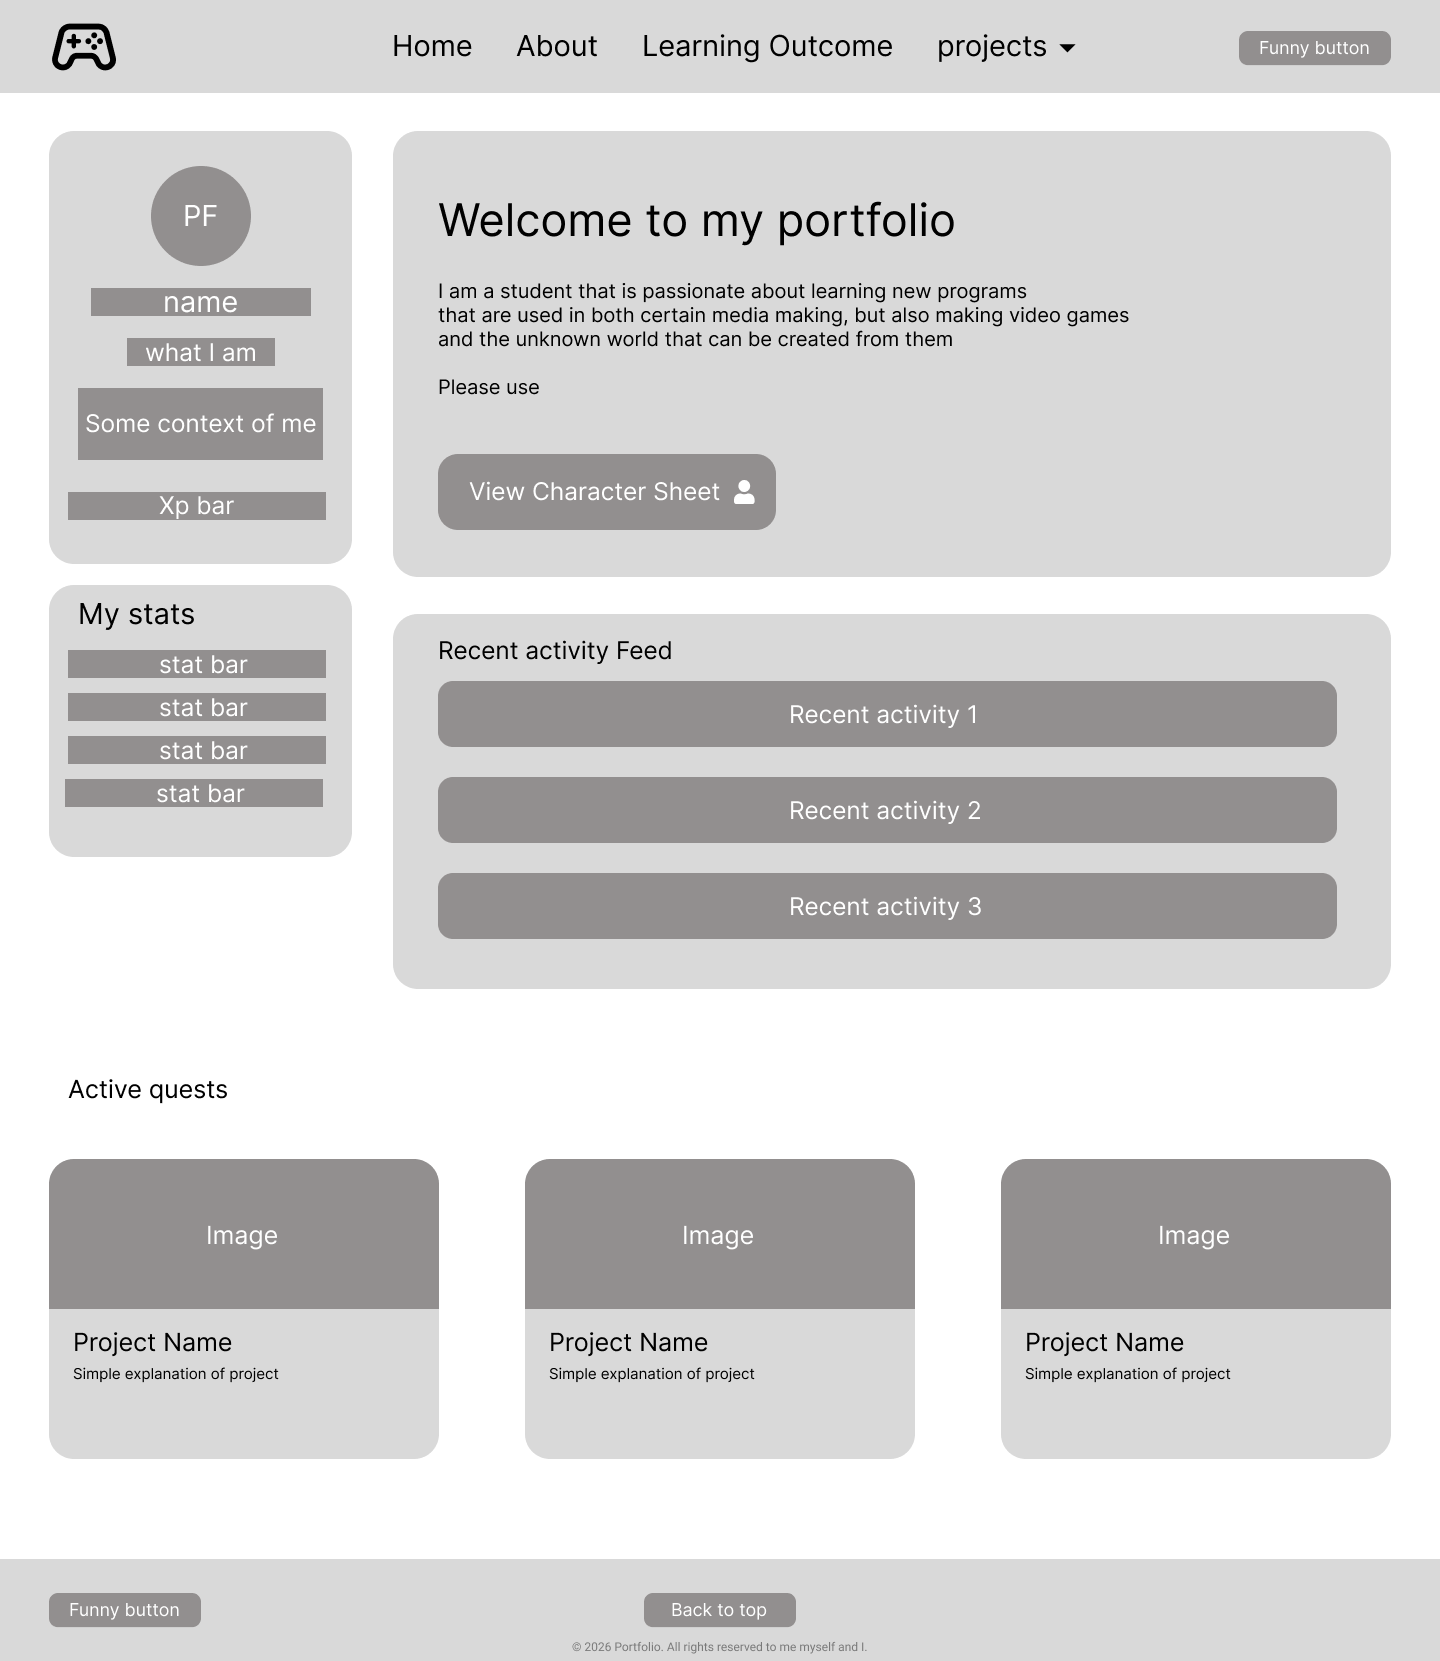
These are my first wireframes, made quick and simple so I could build a working portfolio website as soon as possible. It connects to LO1 under user-centered design because I planned the flow and structure first, so the site would make sense before I started styling anything.
Link to the first wireframe: old Wireframes

Proof 4
When the portfolio grew into more pages, I remade the wireframes to plan the final structure for the final version. This fits LO1 because it shows I didn't just keep building randomly, I stepped back, planned the layout per page, and made sure the navigation and spacing stayed clear.
This lead to its Figma: Figma
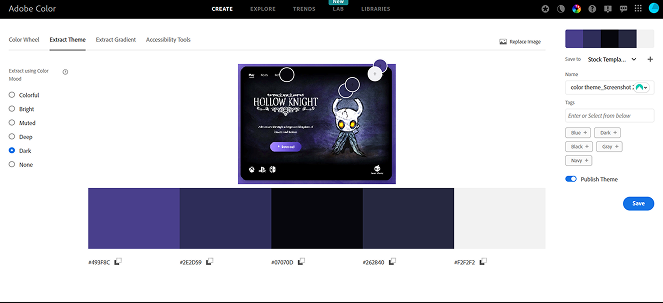
Proof 5
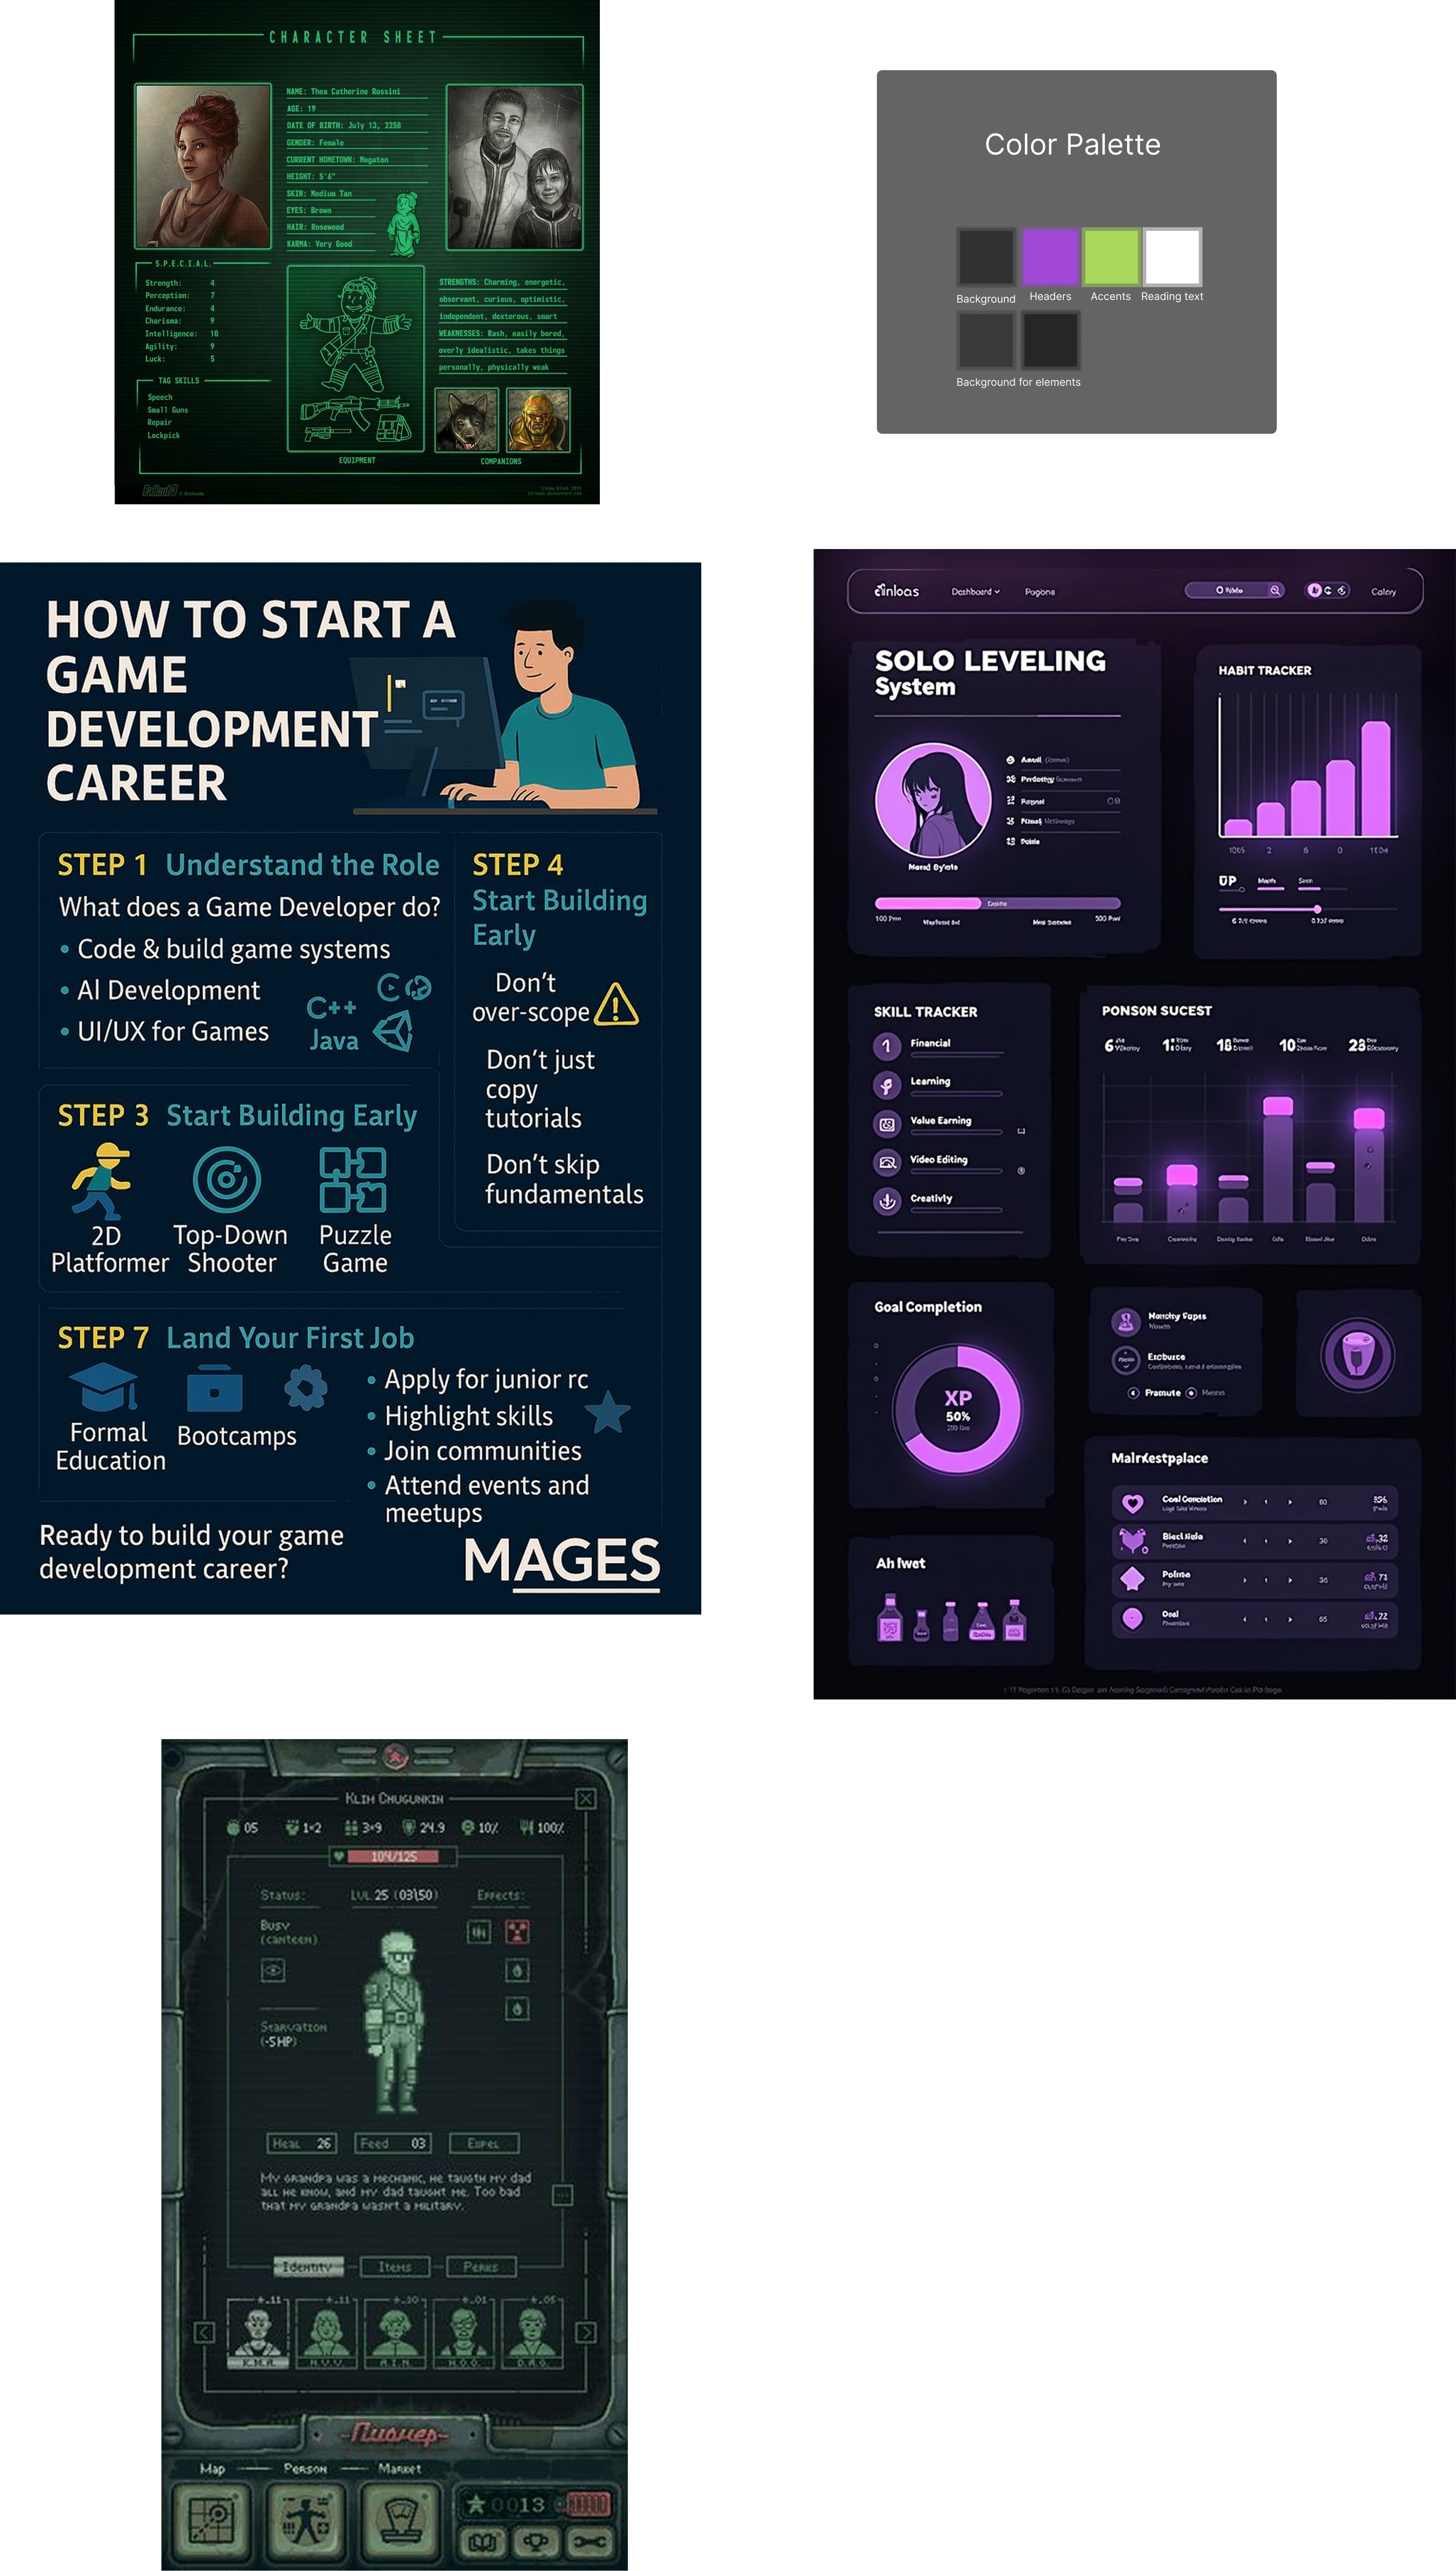
Here you can see how I used Adobe Color to extract colors from my early moodboard. I didn't land on the final palette in one go, I tried a couple of combinations until I found one that matched the dark vibe but still felt readable and usable on a real website.
link to where these tests were done: Figma
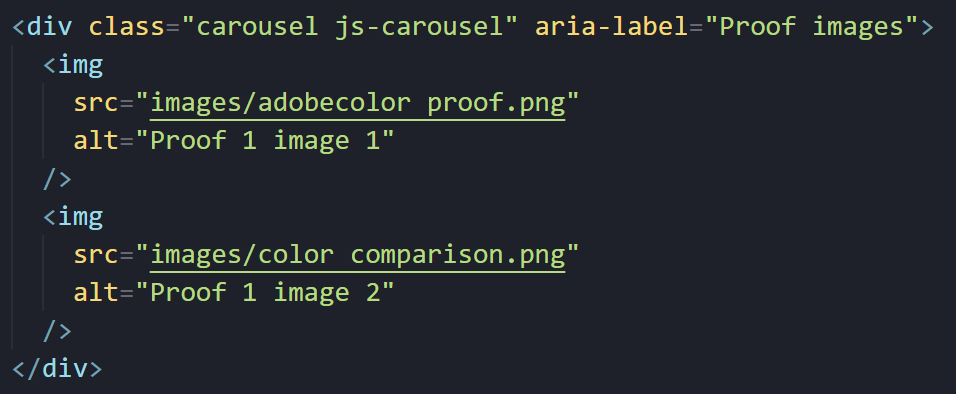
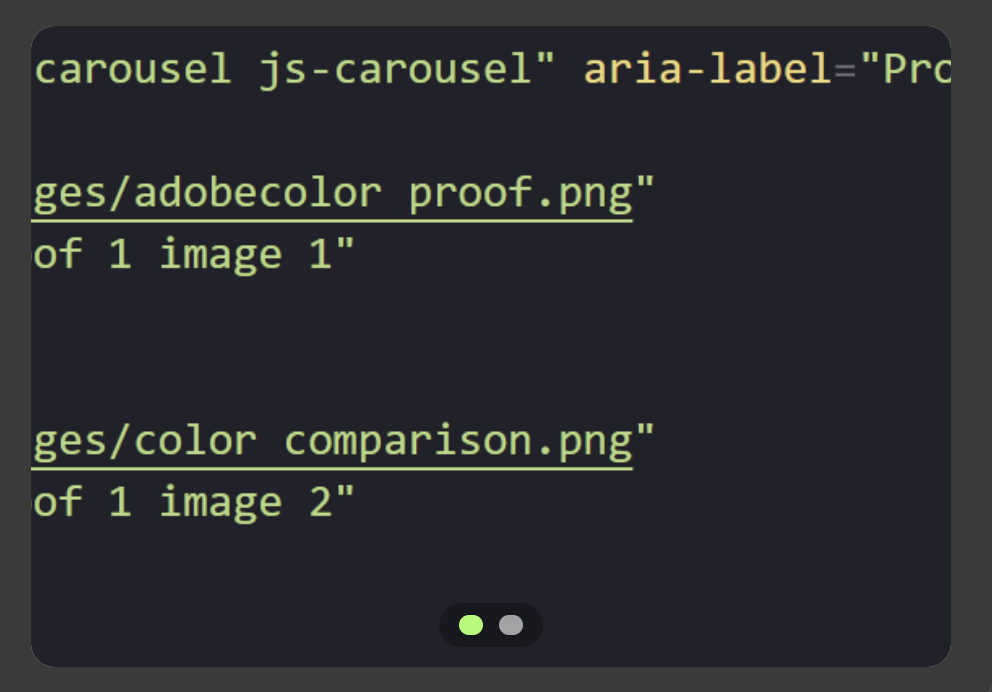
Proof 6
To make it easier for people to actually look through proof images, I built a small carousel. Instead of dumping a long wall of images on the page, visitors can click through them one by one, which keeps the page cleaner and makes the proof less overwhelming.
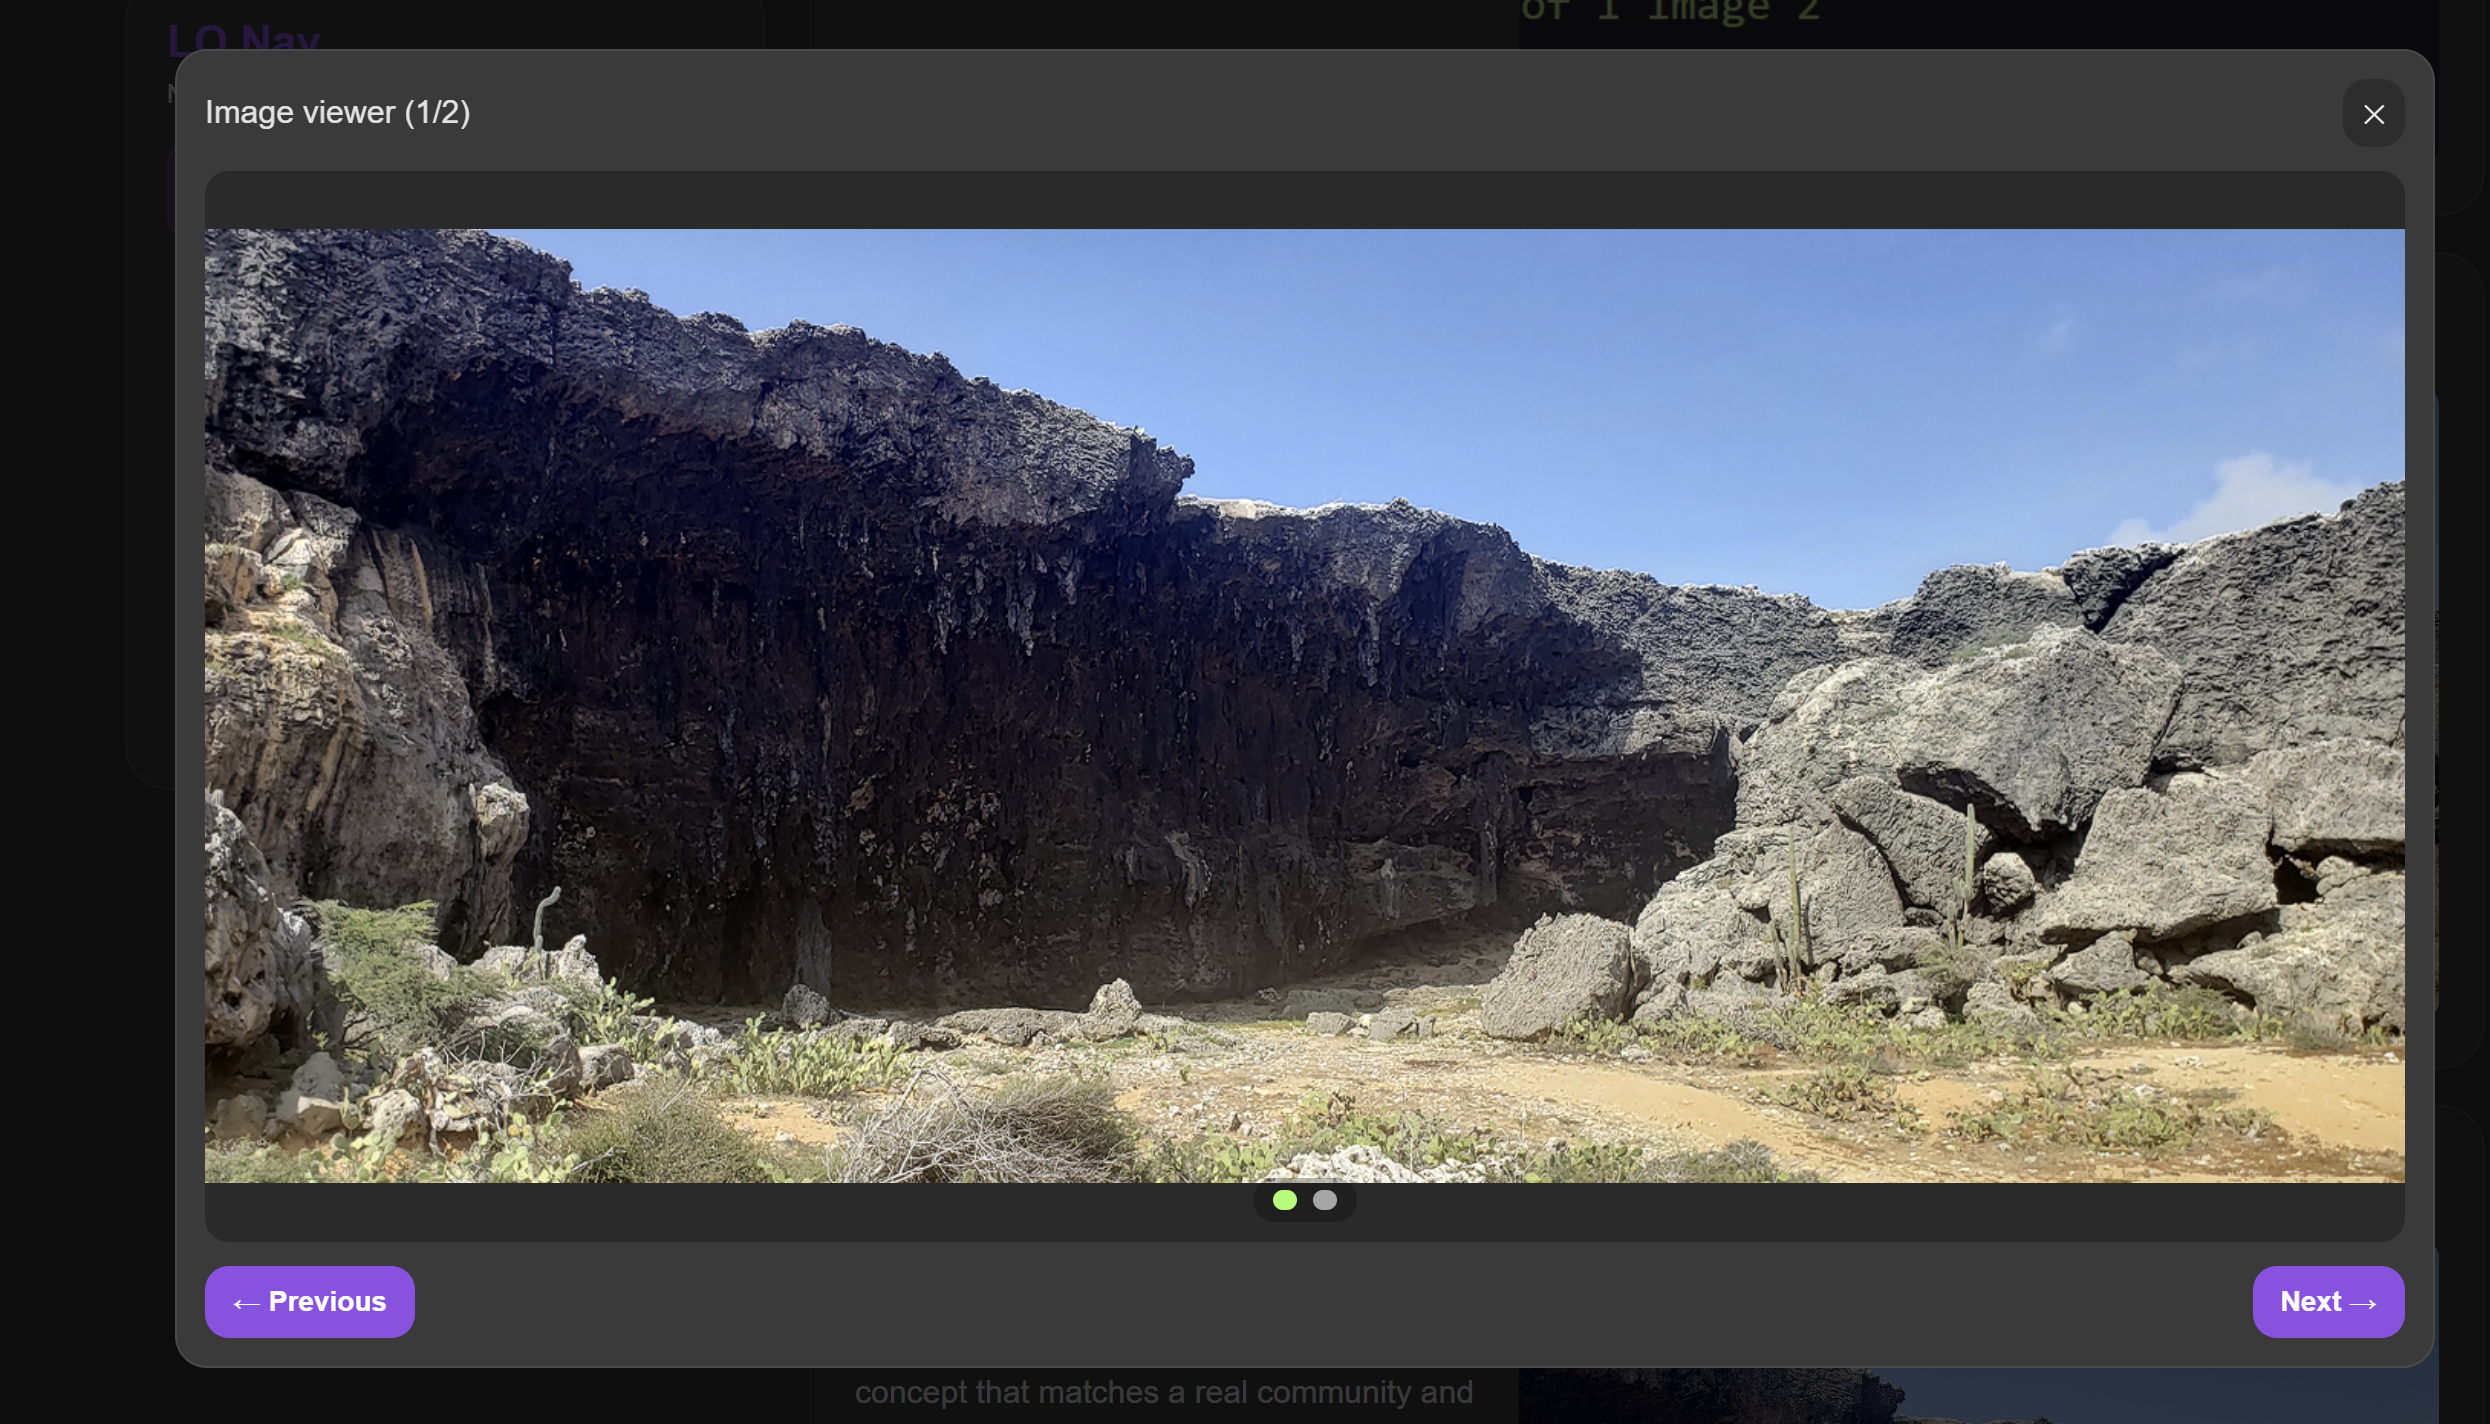
Proof 7
I also added a zoom/open view when you click an image. Not every screenshot fits nicely in the same frame, and sometimes the details are too small. With the zoom view, people can actually read and inspect the proof without the layout breaking.
Proof 8
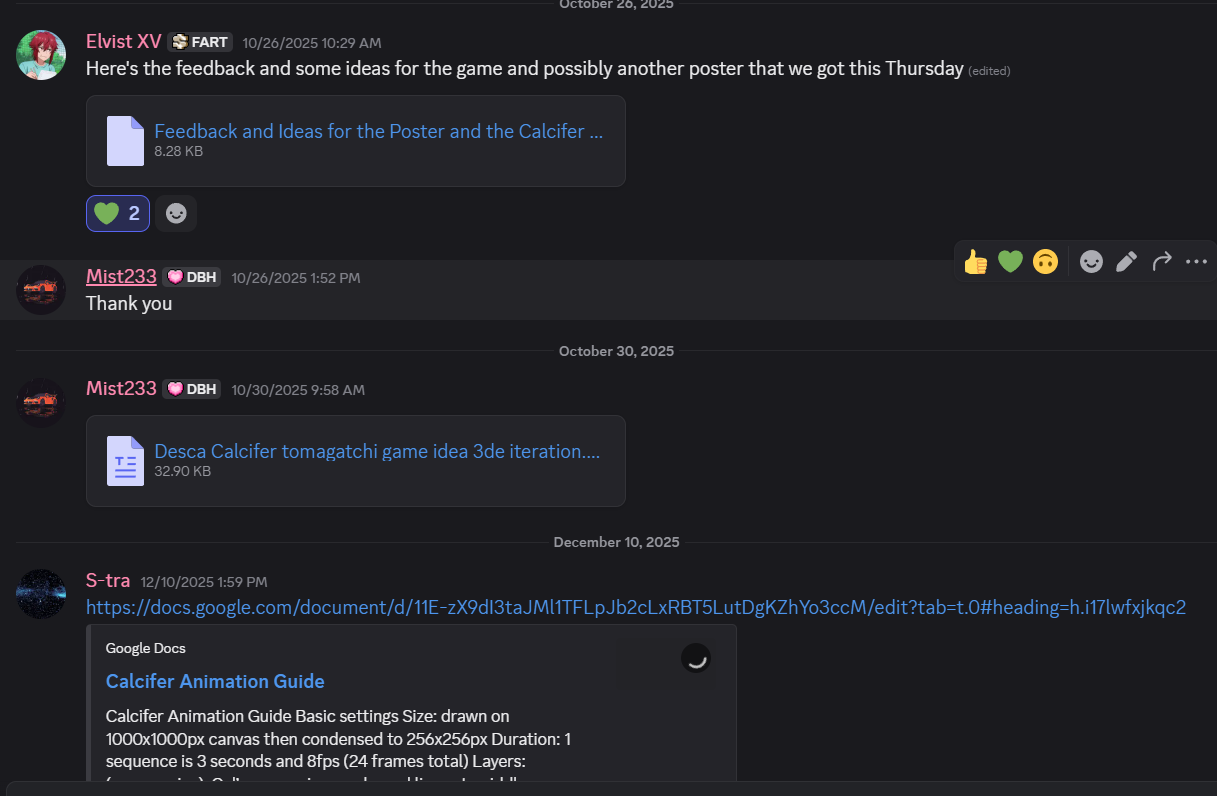
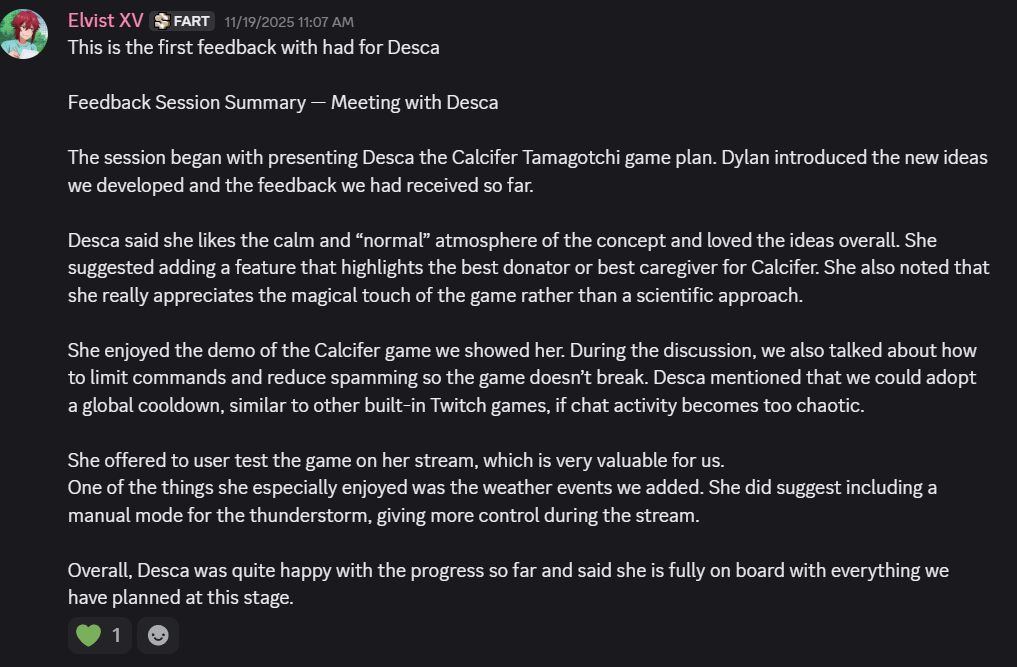
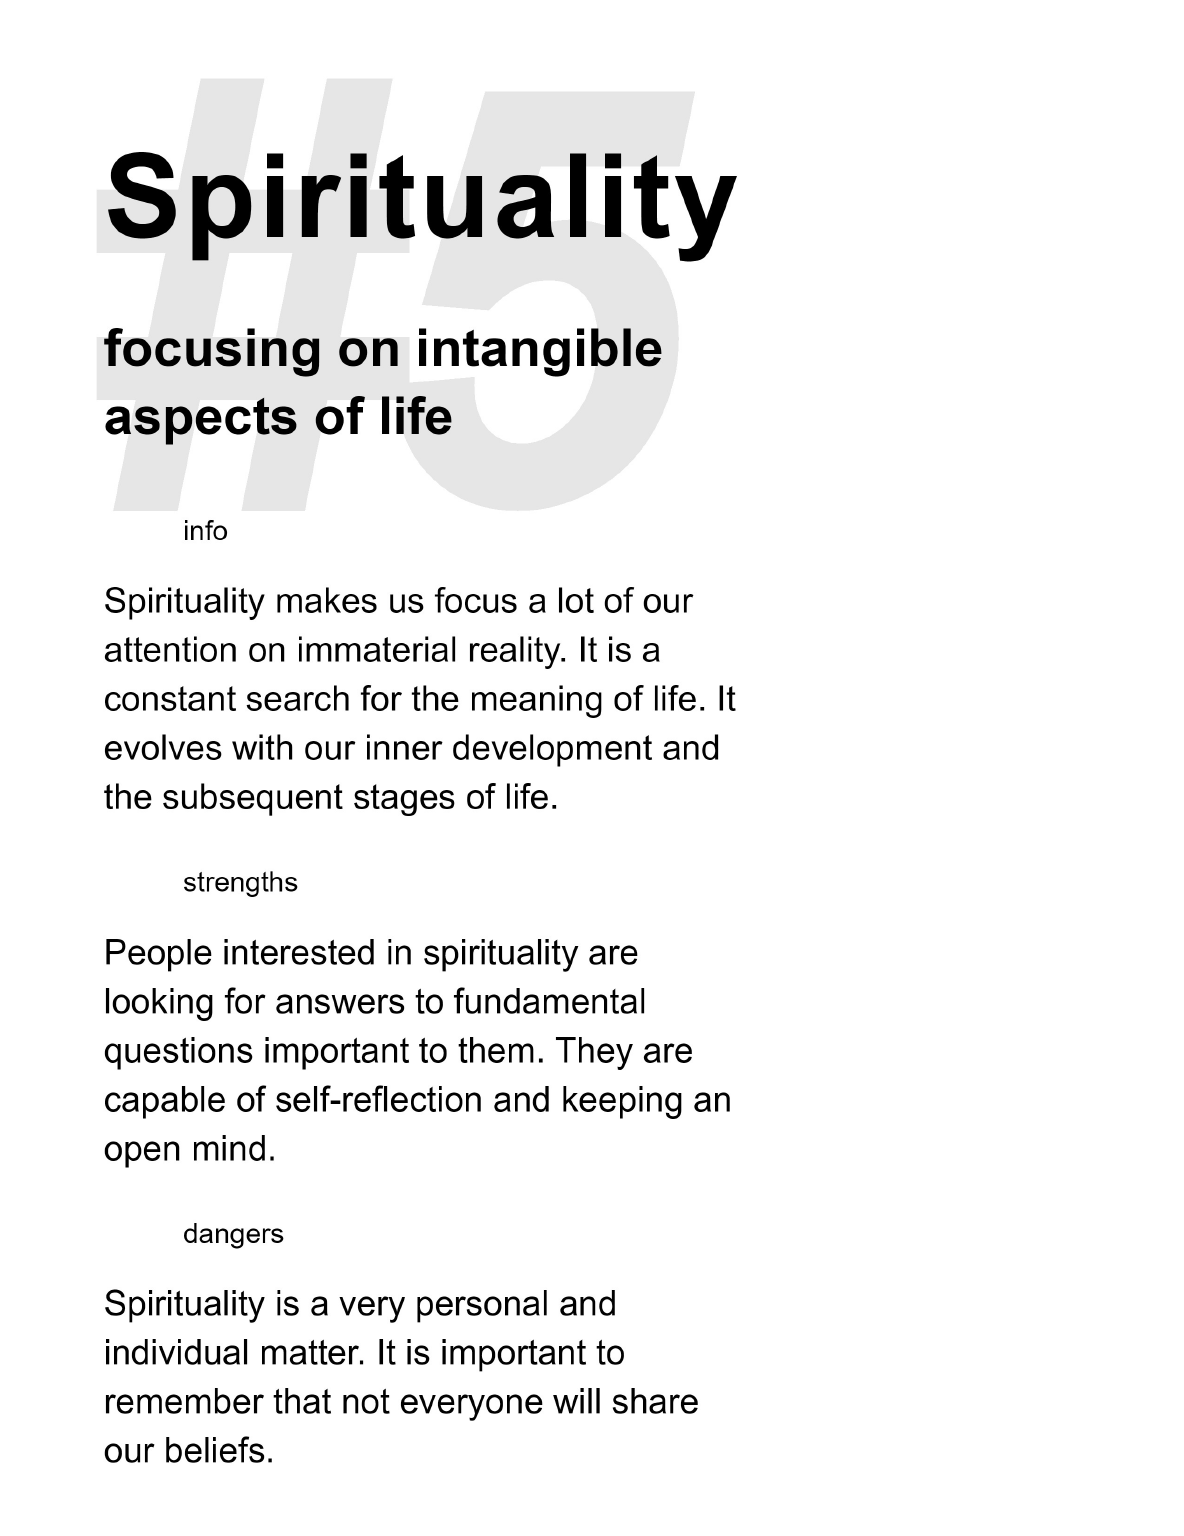
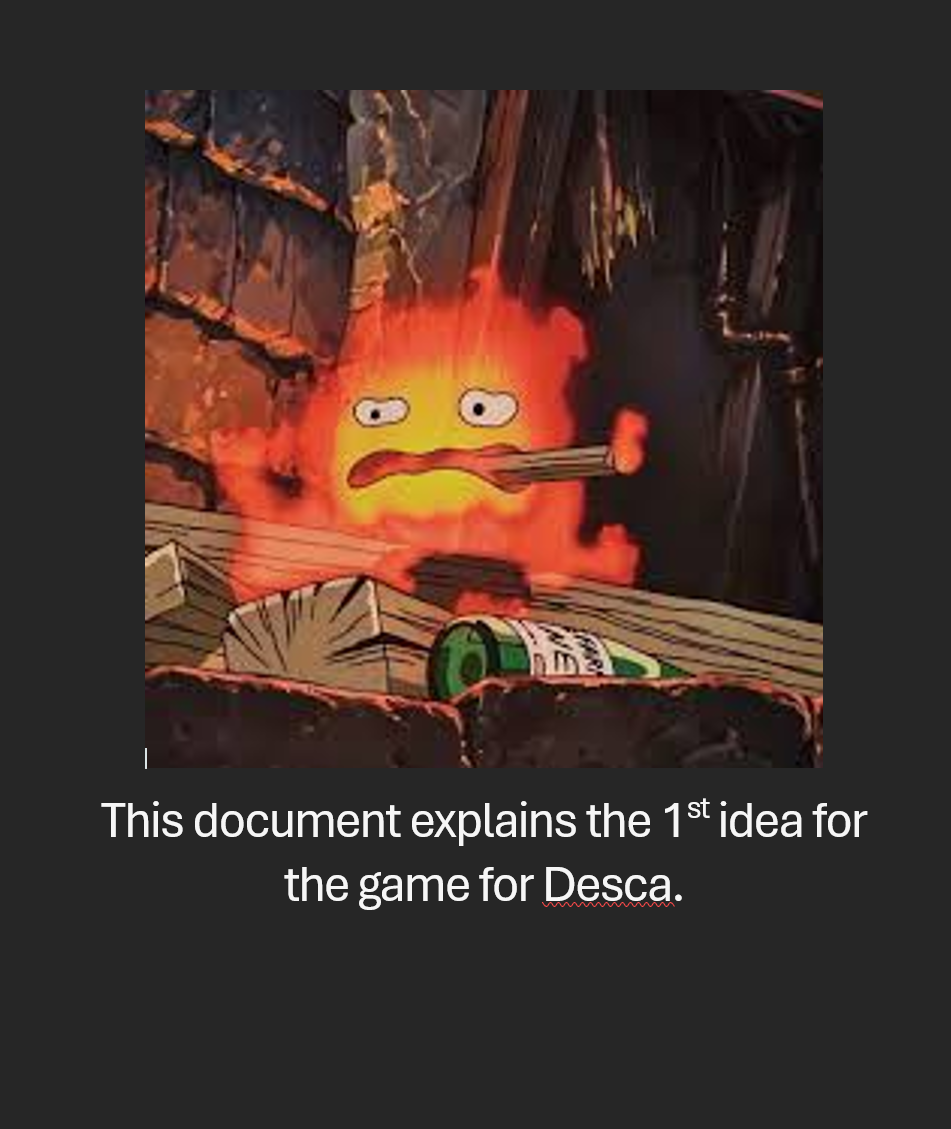
This is my Calcifer Tamagotchi concept for Desc's stream. The idea wasn't random it came from Desca's community and their inside joke, so it already had a real target audience. That's why it fits LO1: it shows a concept designed for an actual community and interaction, not just something I made up for school.
Here is the document: calcifer
Proof 9
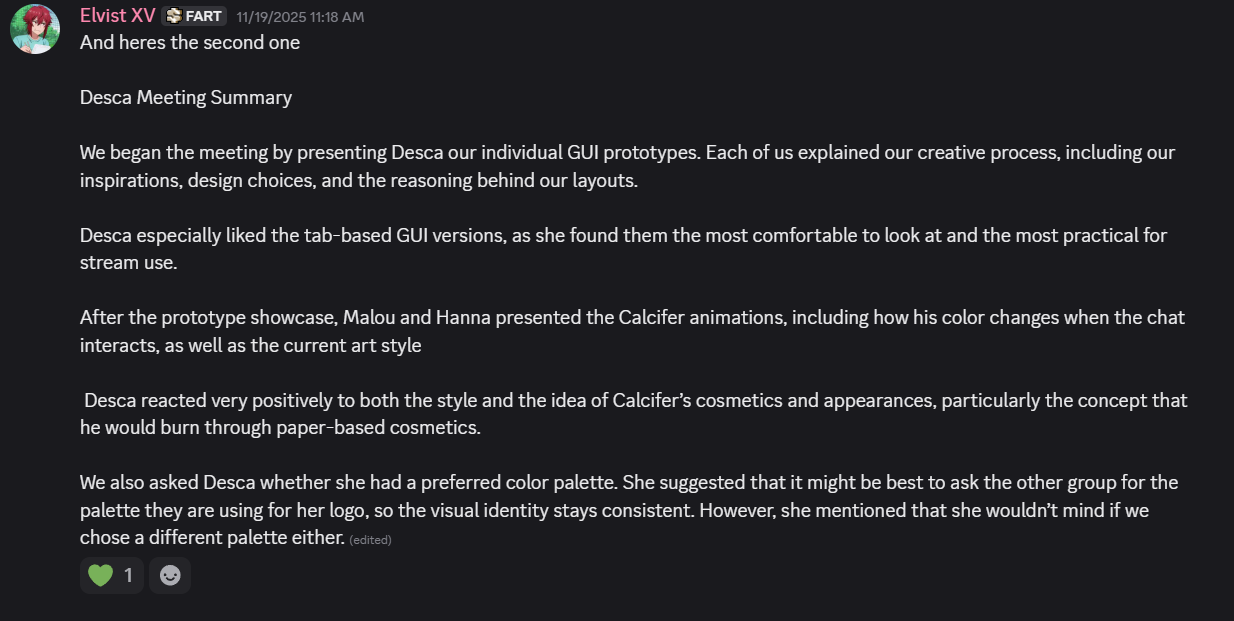
These are my first GUI pages for Desca. This version was my starting point to test the layout and what kind of controls she would need. It fits LO1 because I designed it around a real scenario: a streamer needs quick, clear controls while doing other things at the same time.
Link to figma: Old GUI page in Figma
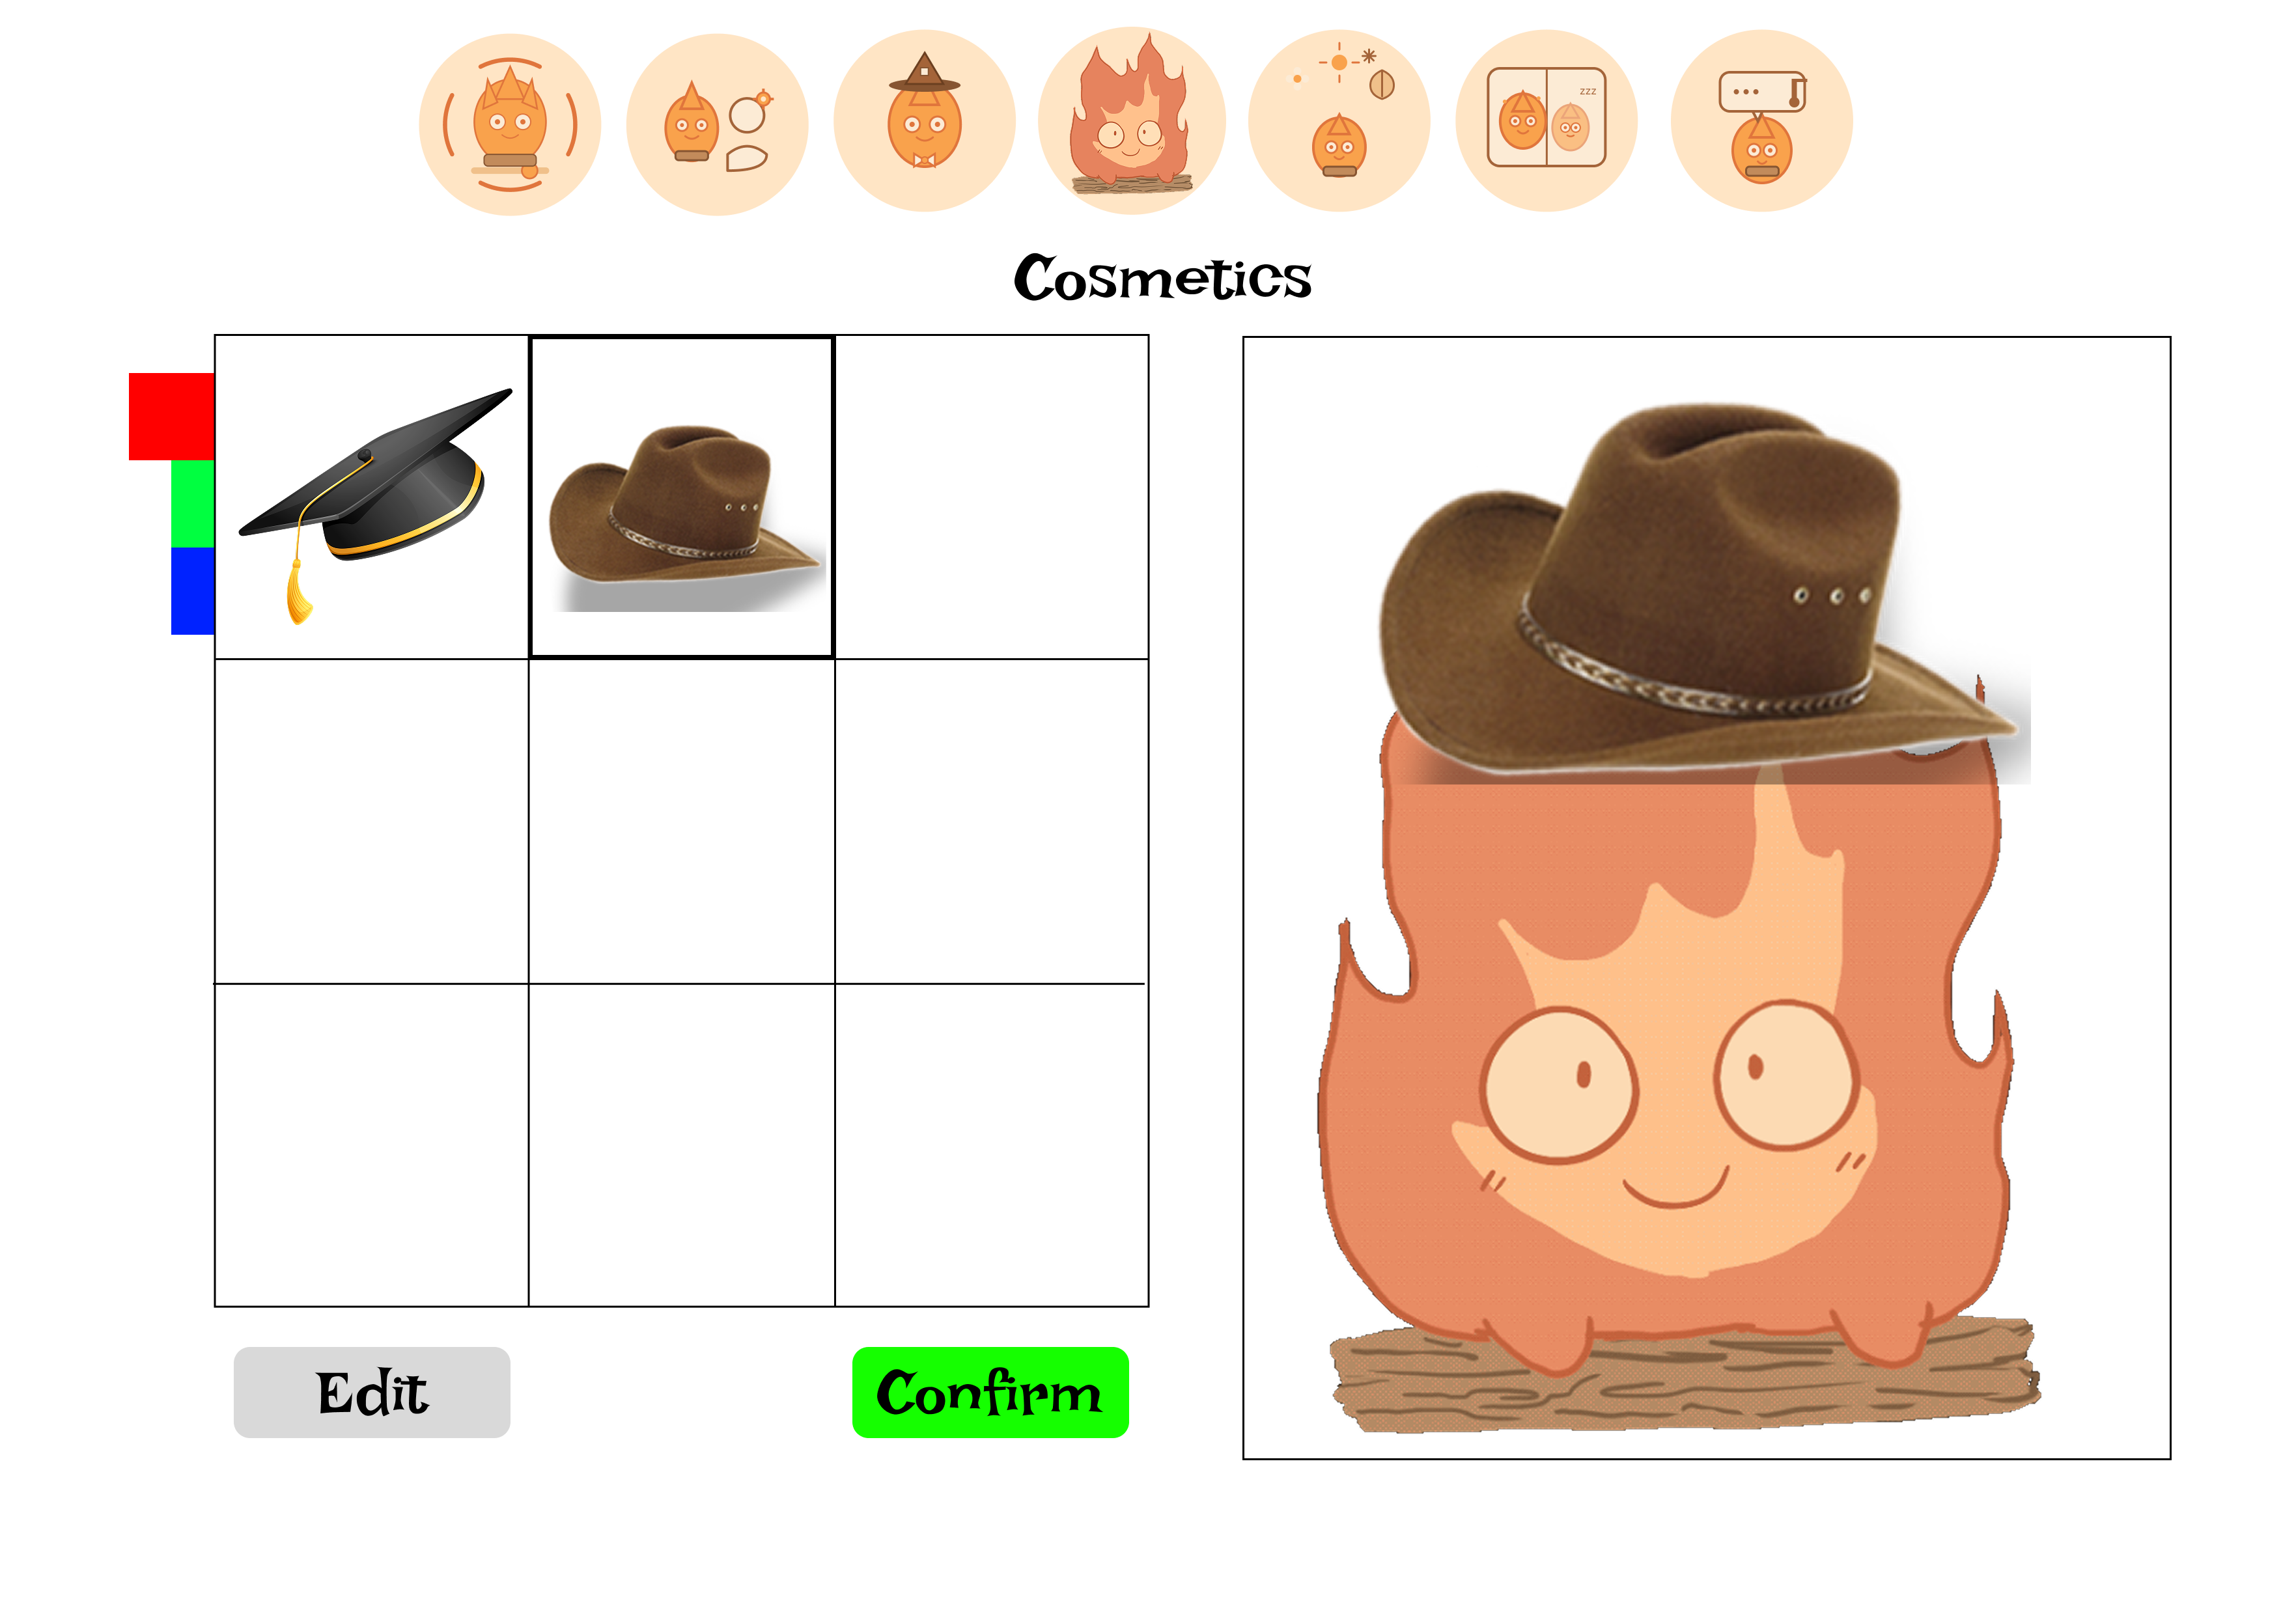
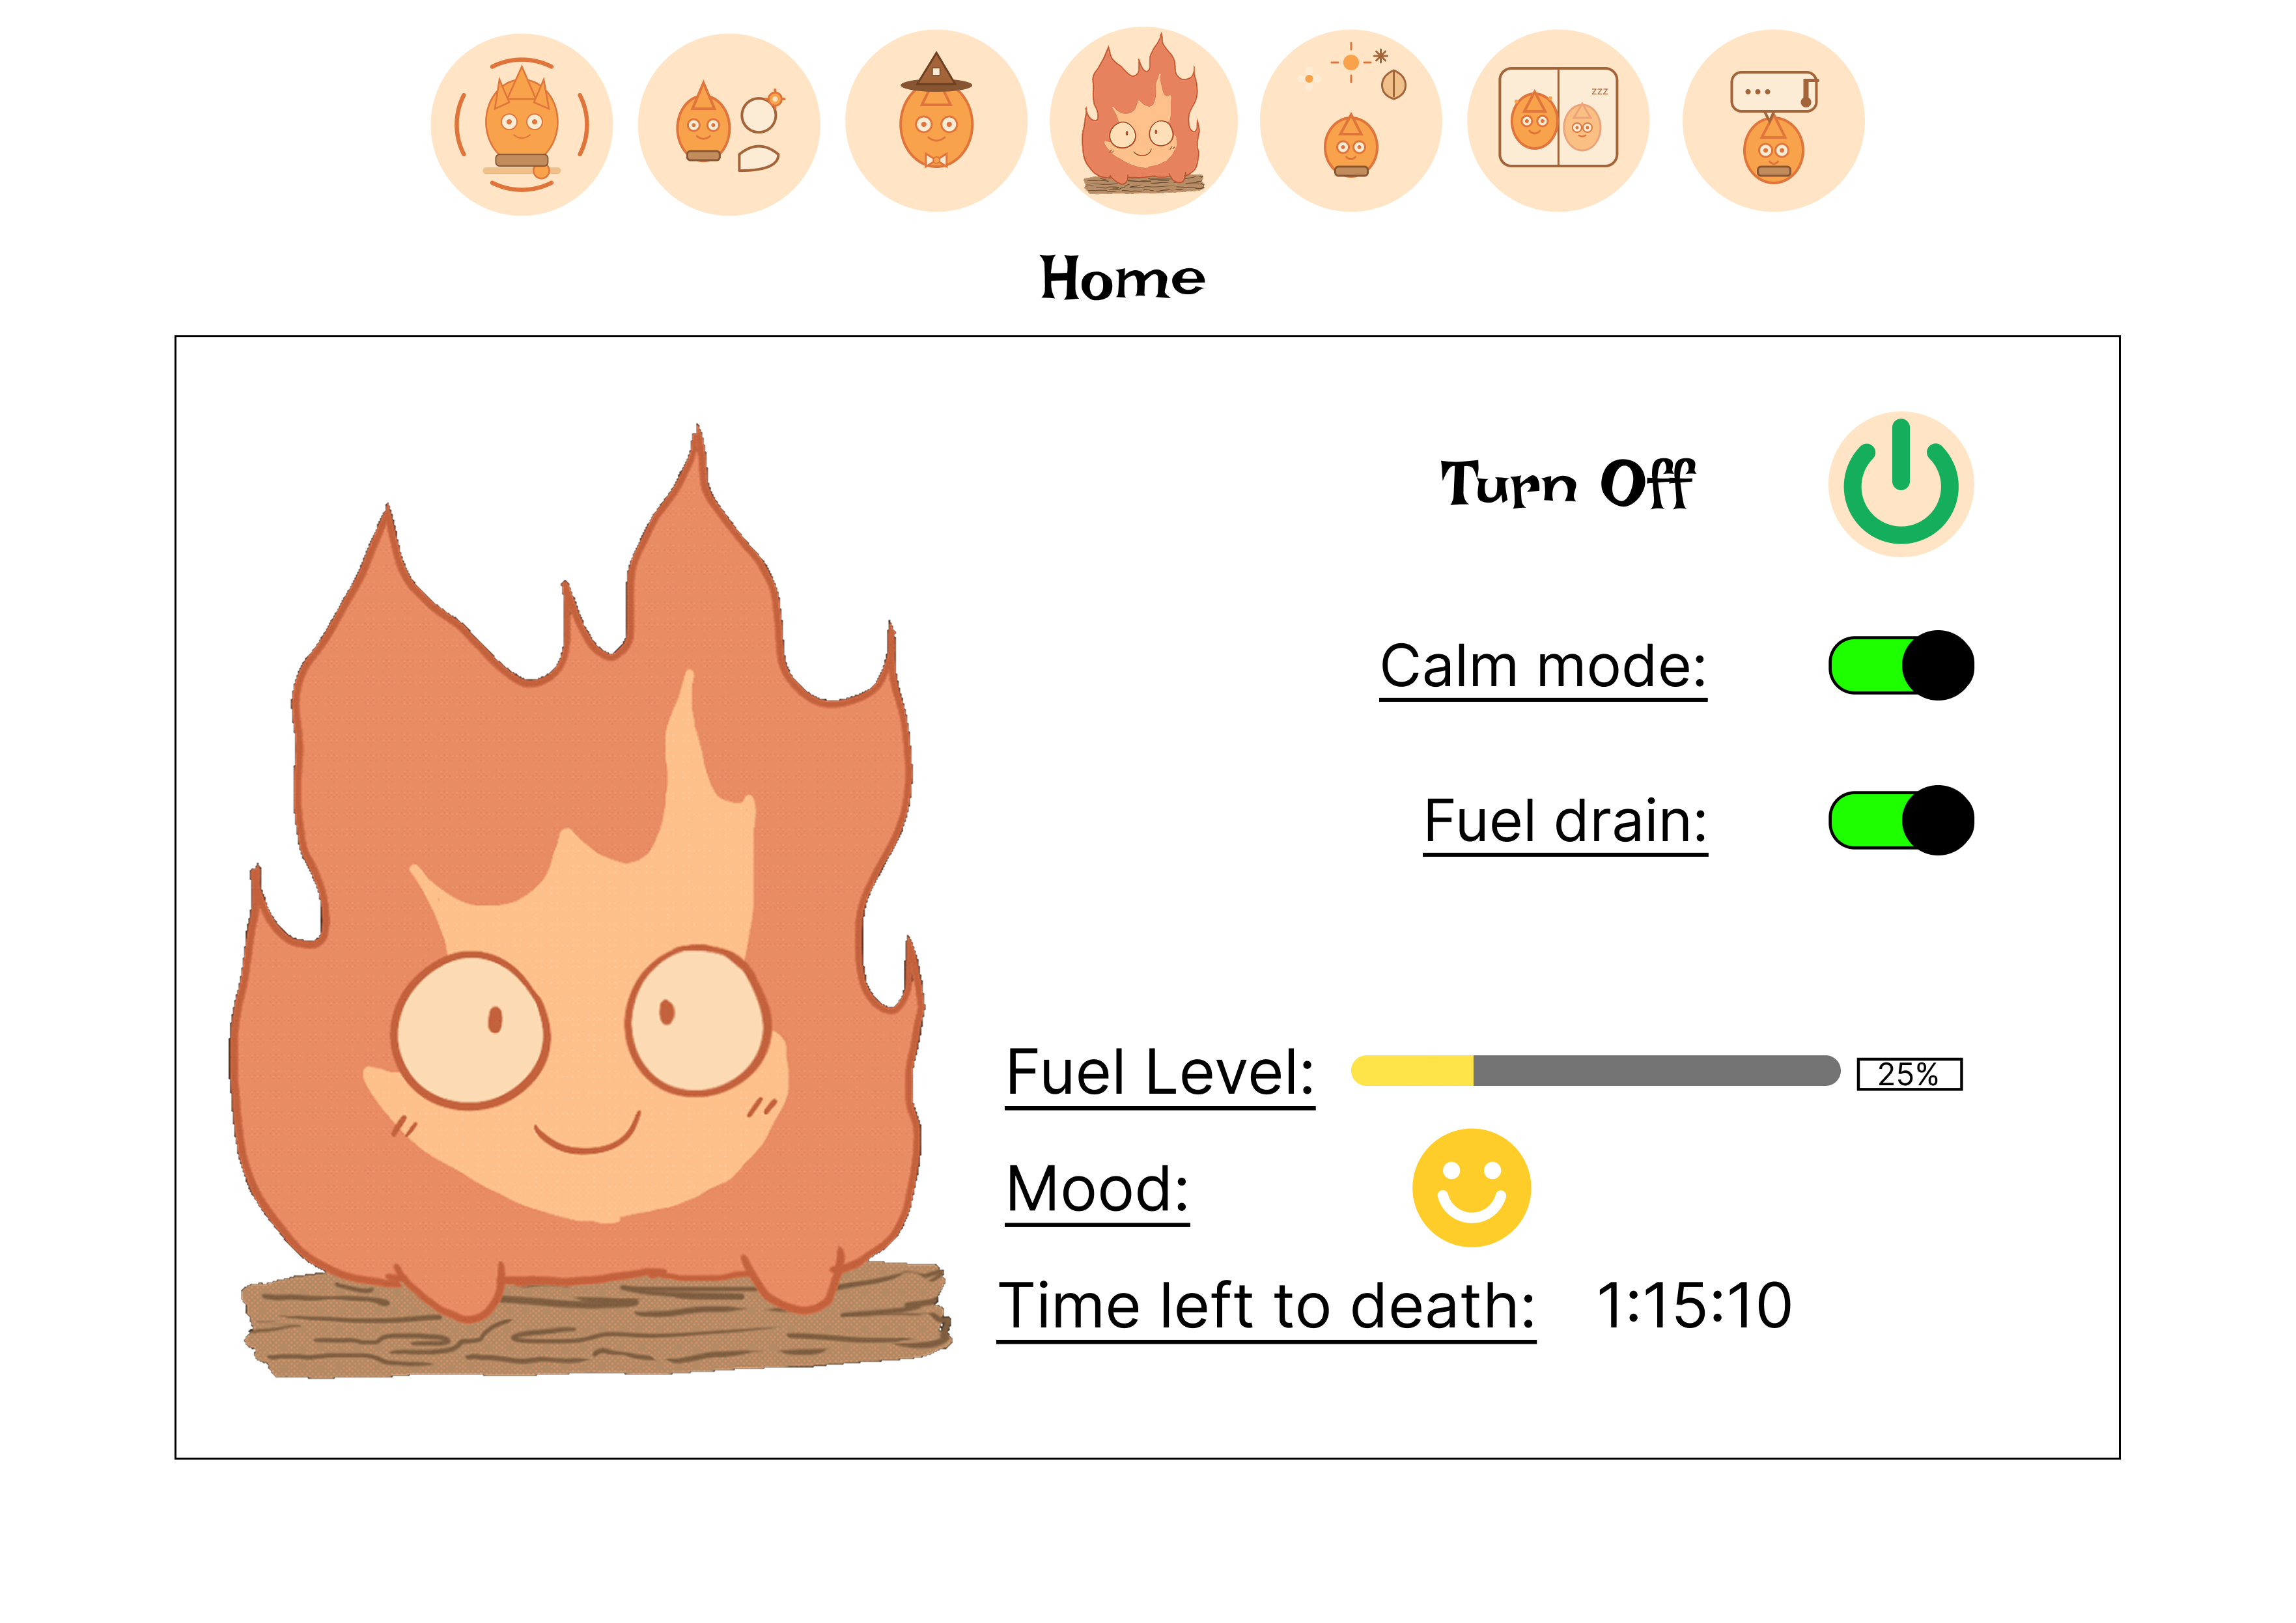
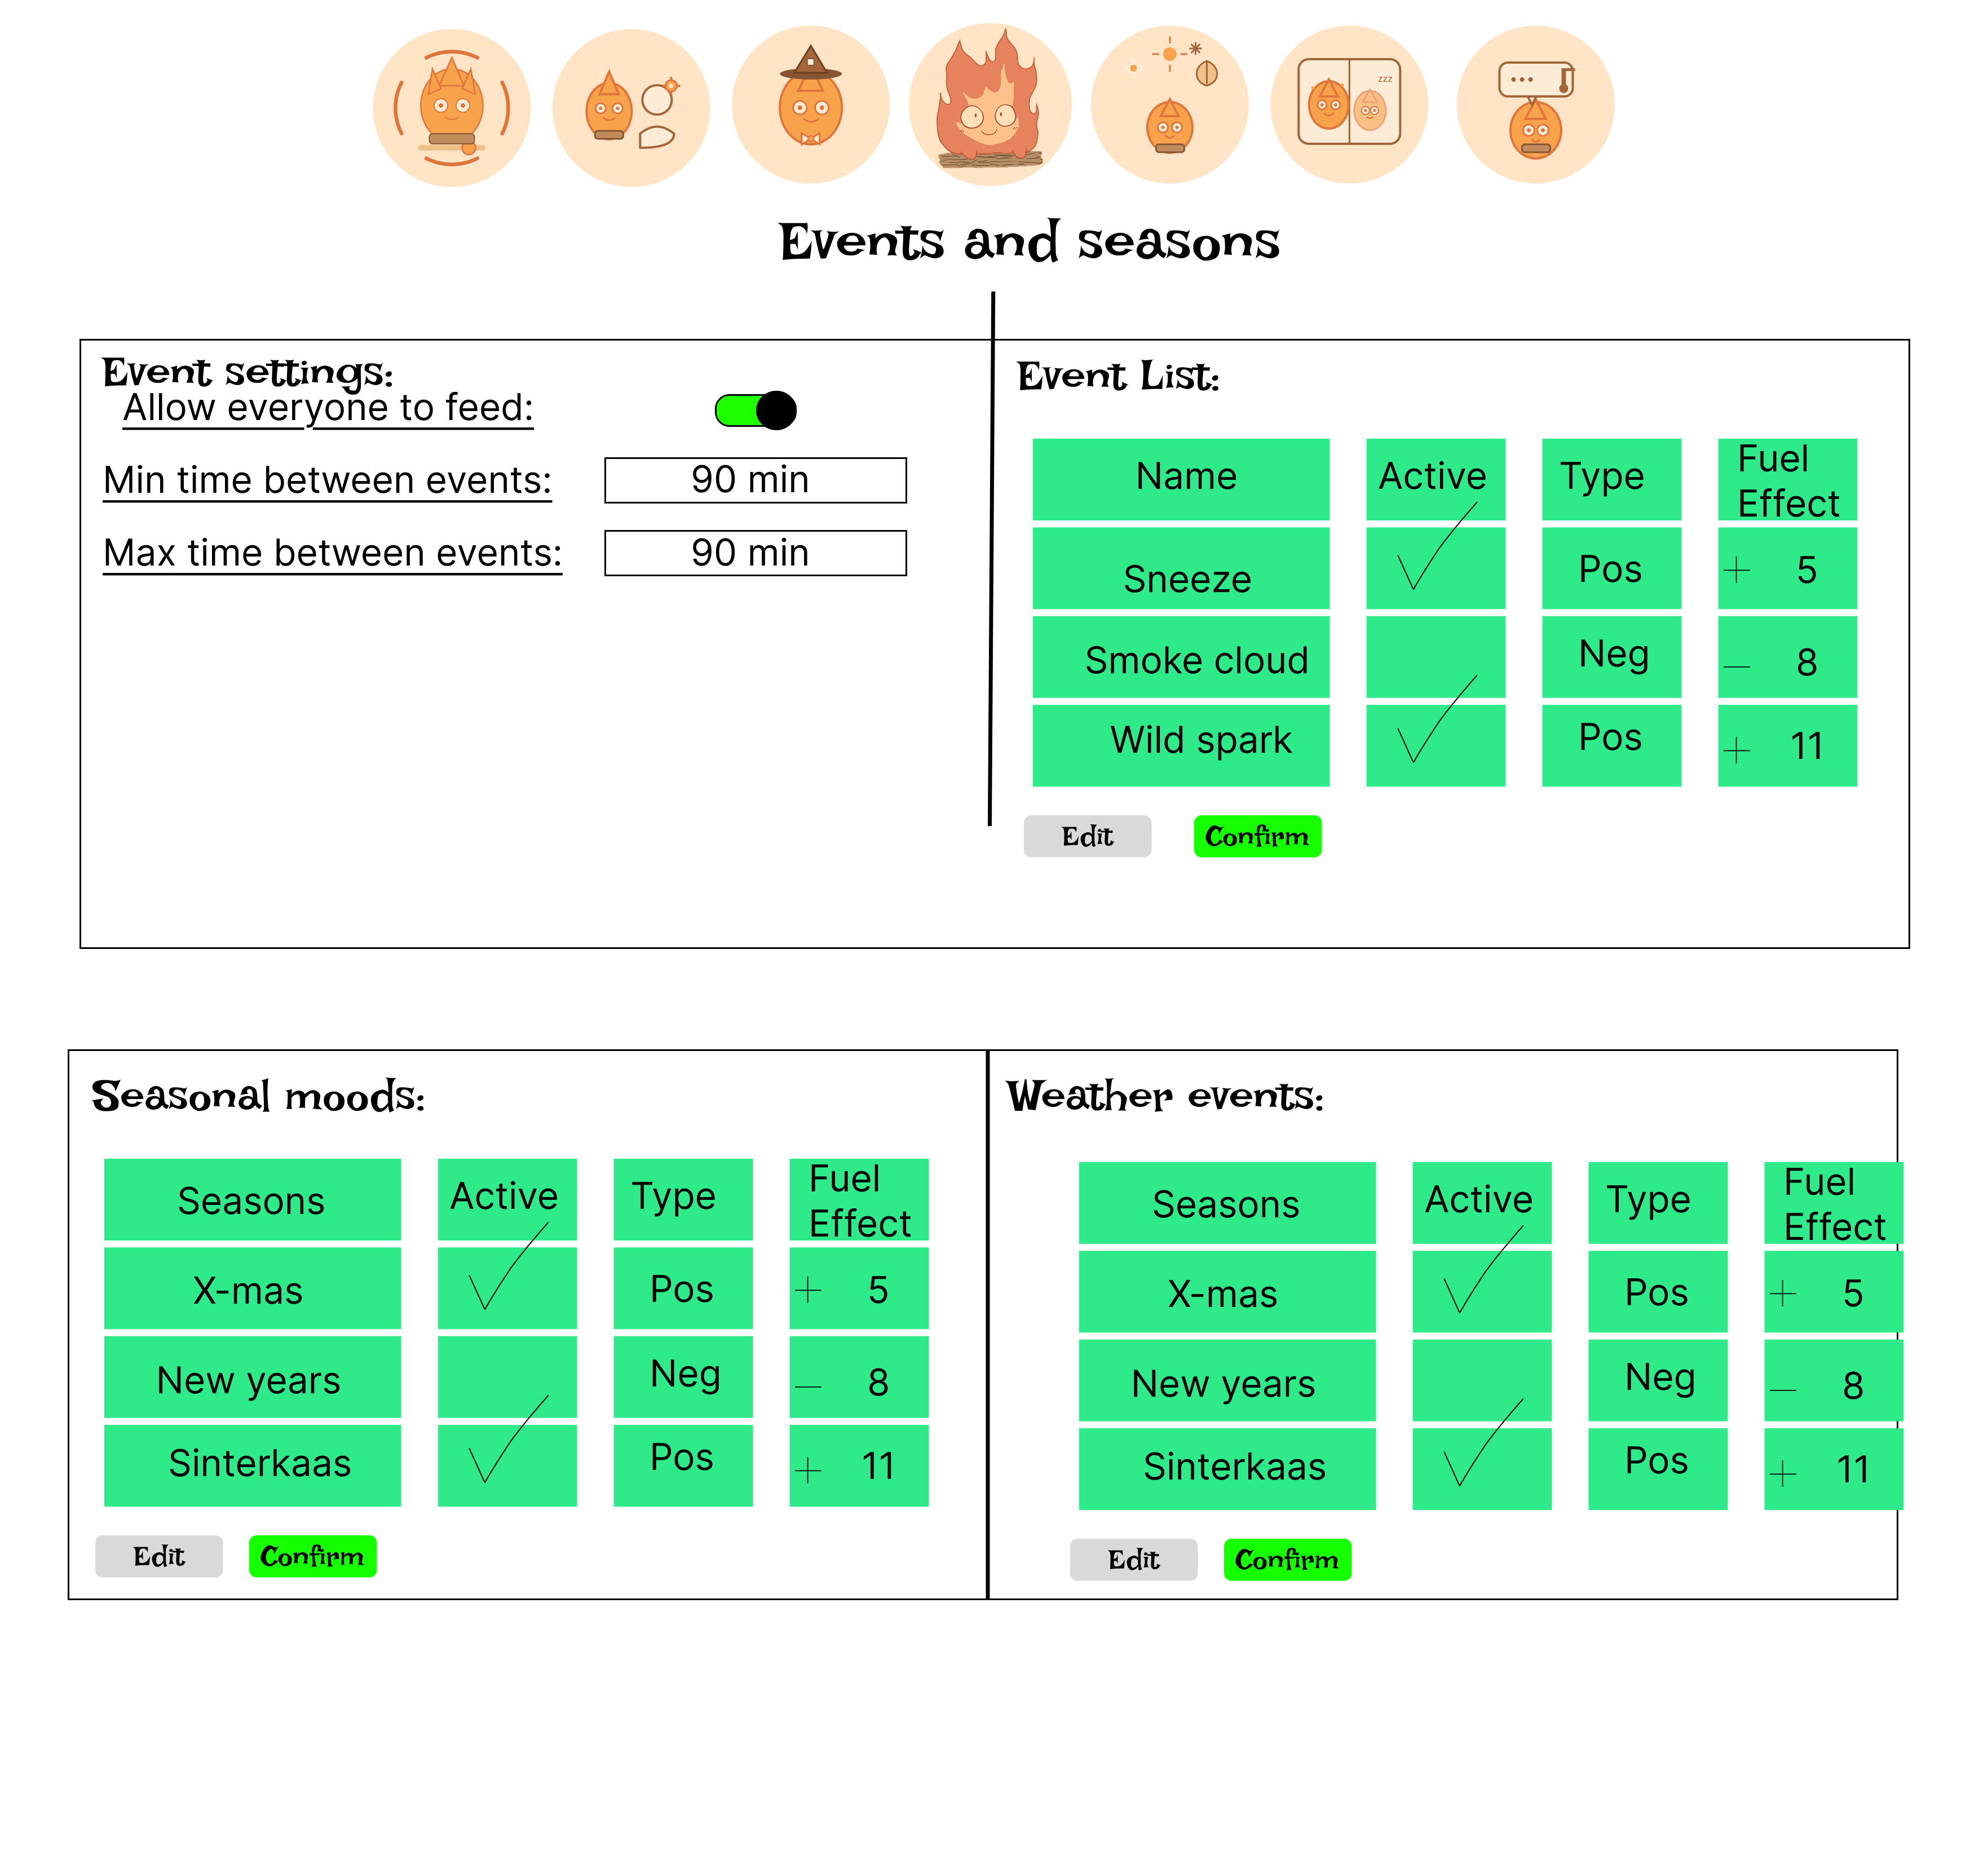
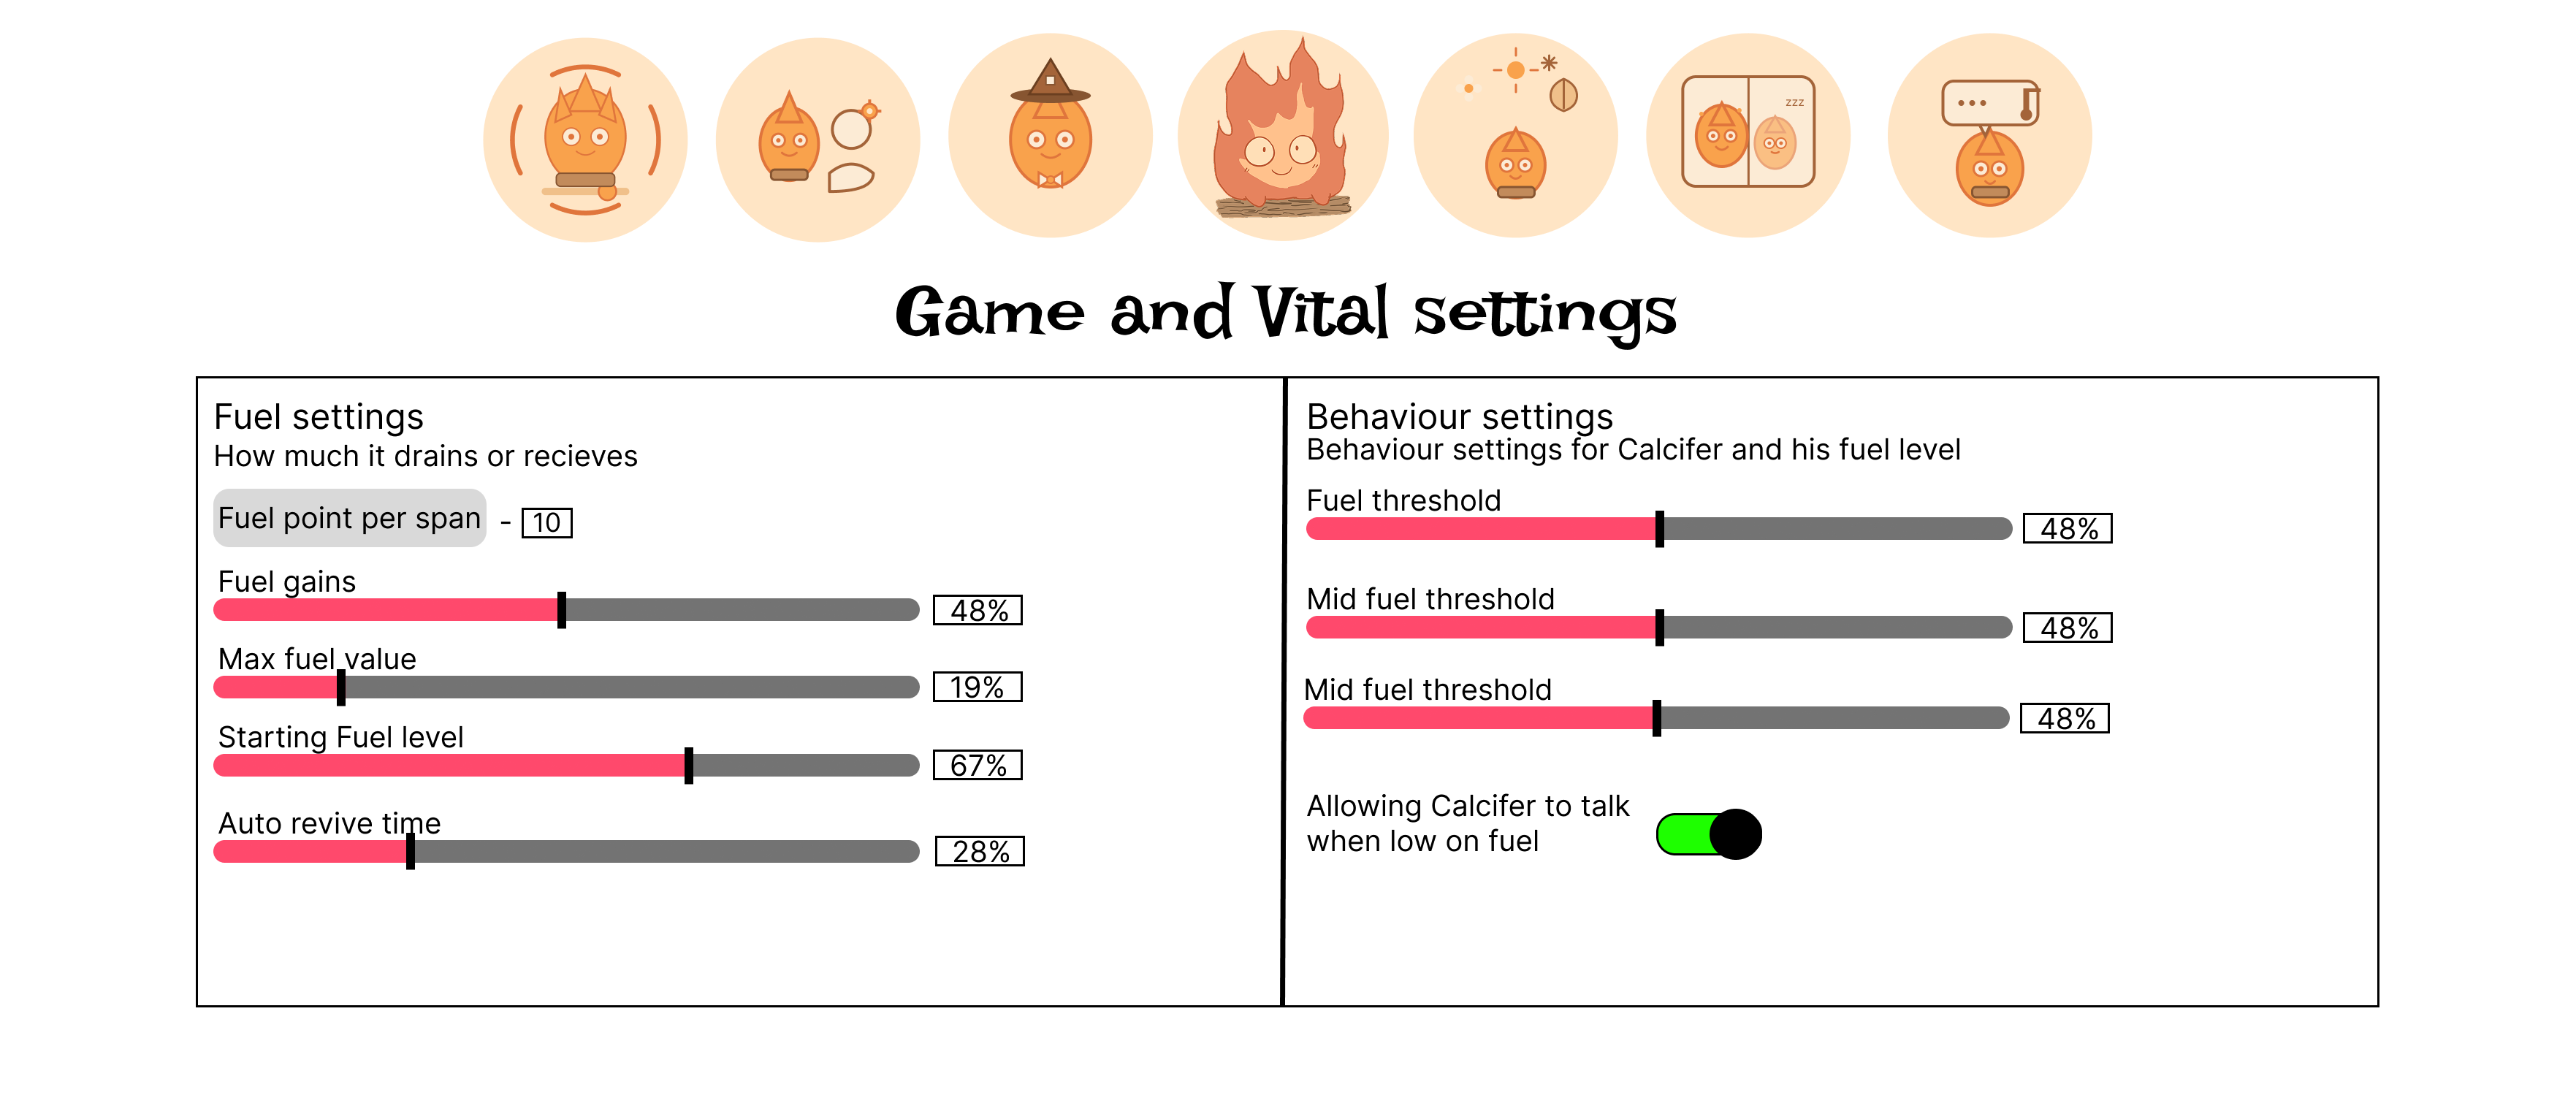
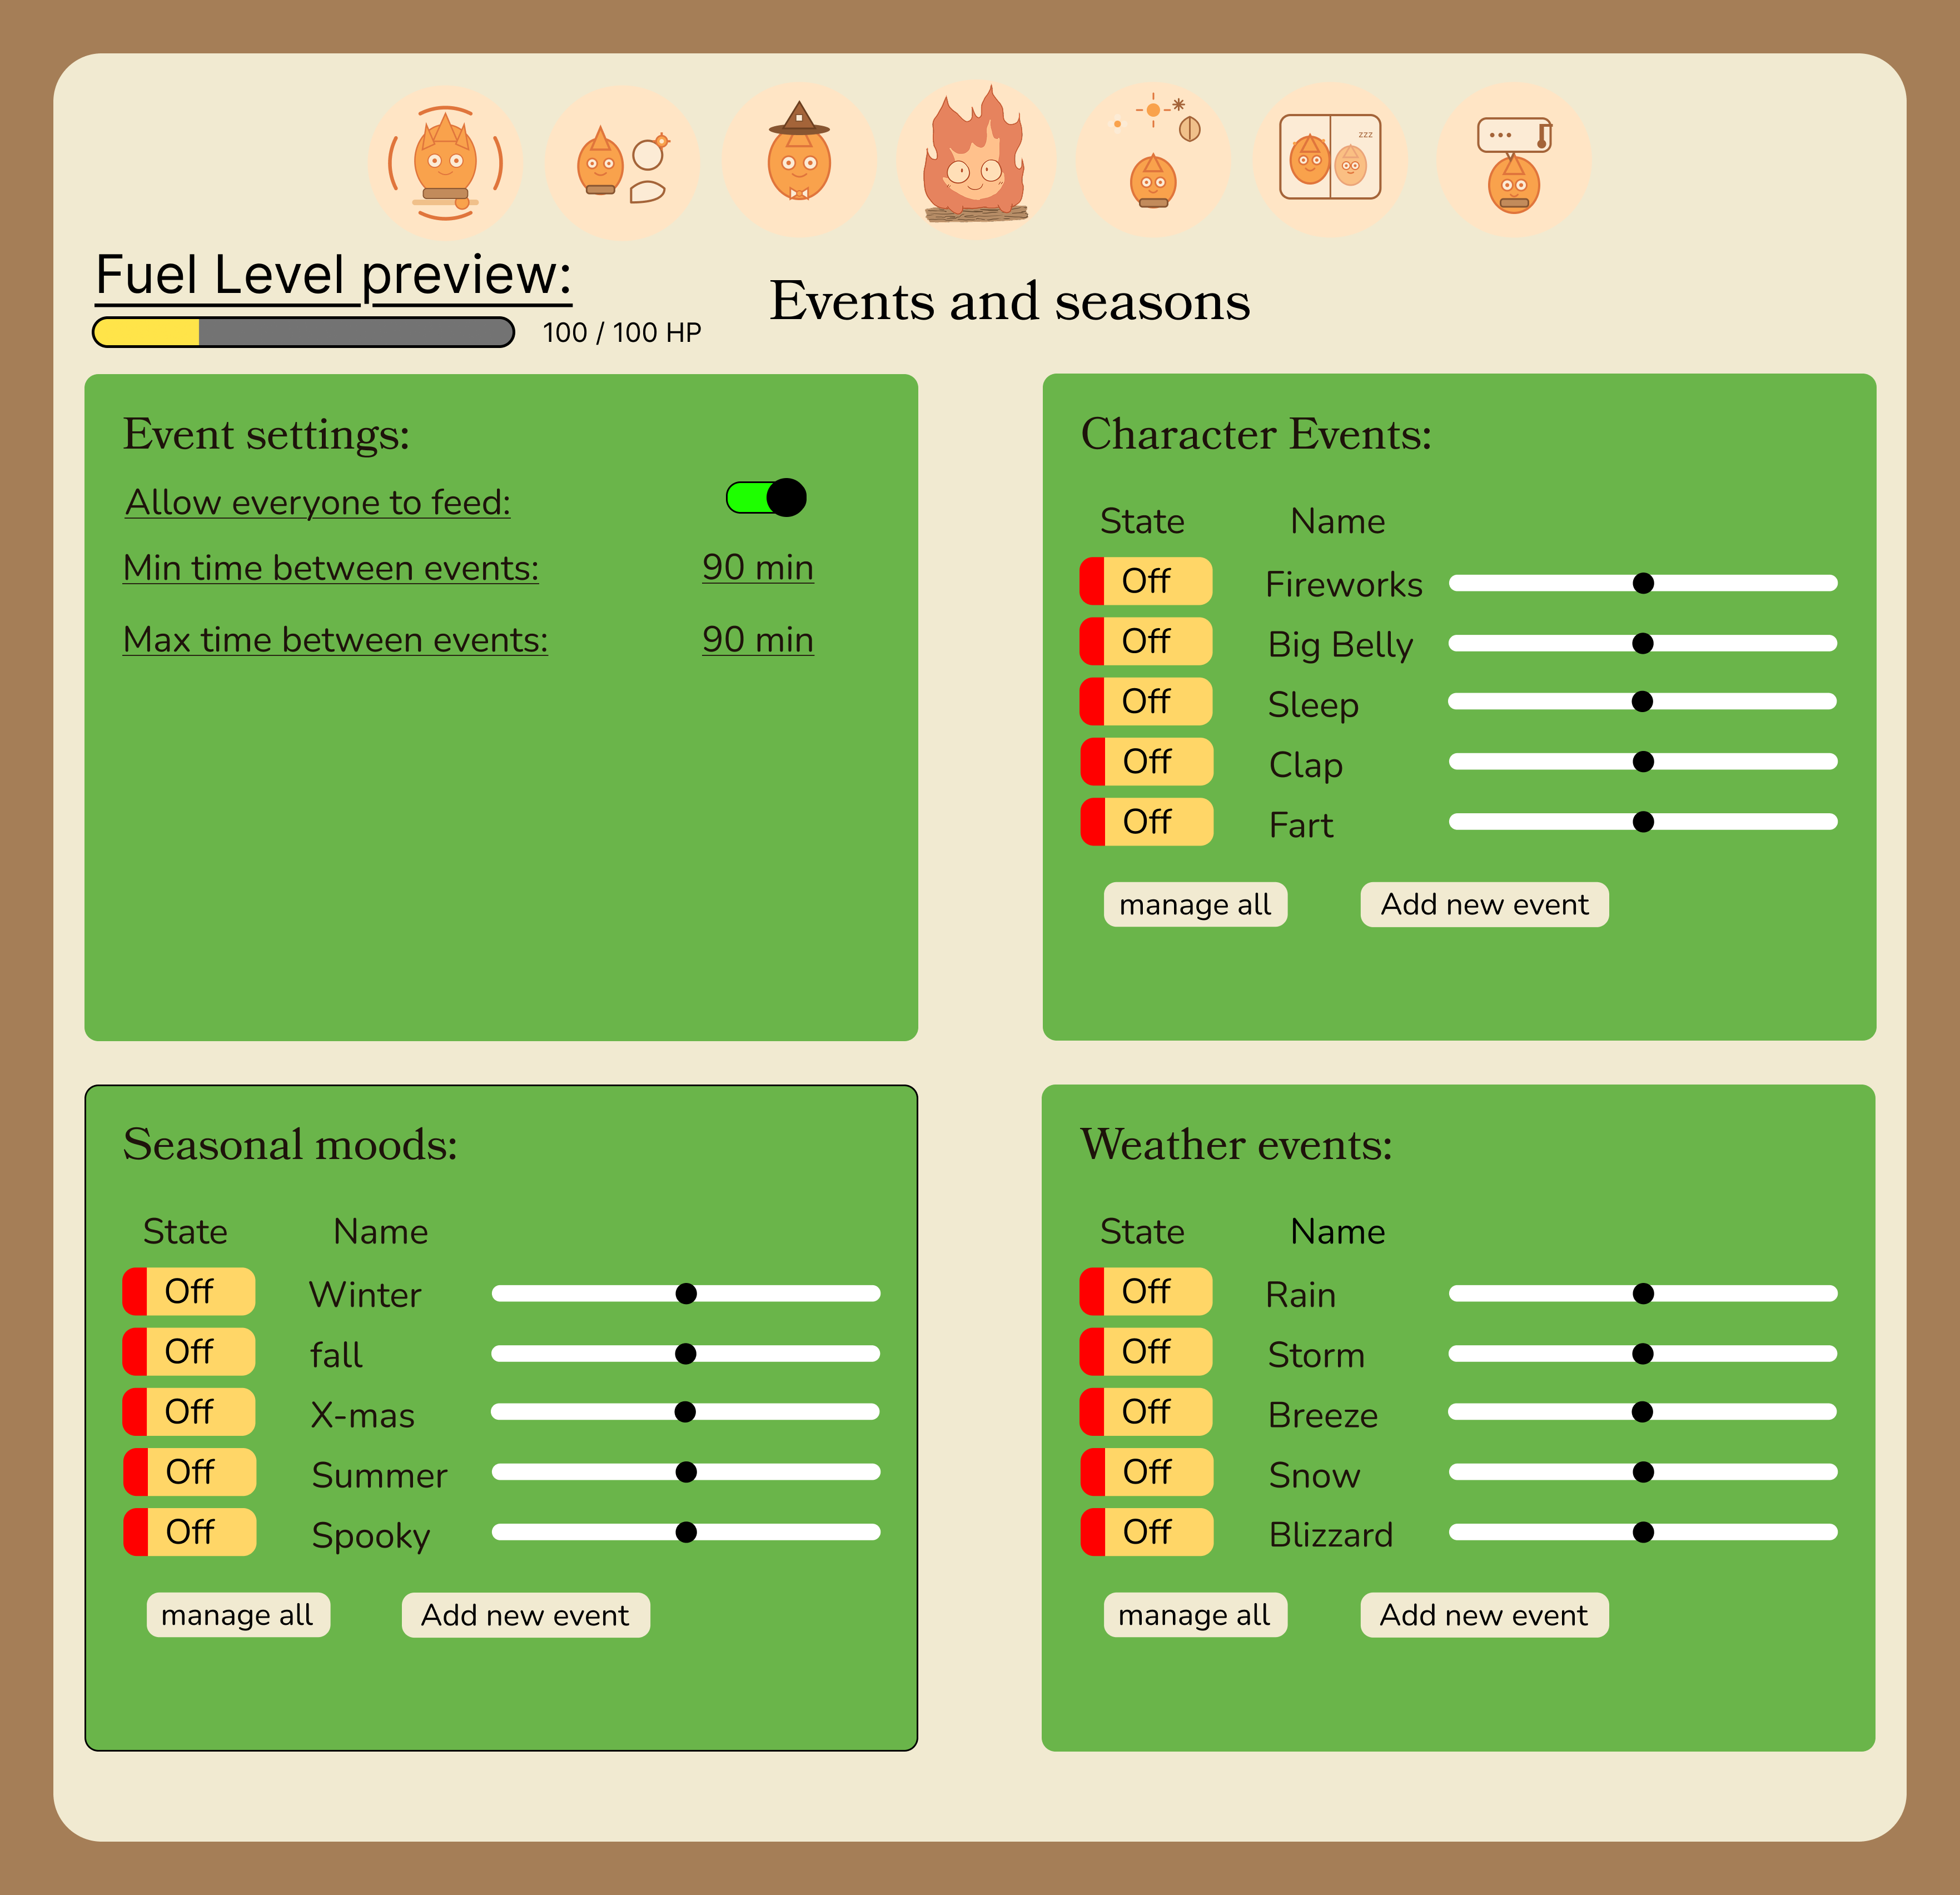
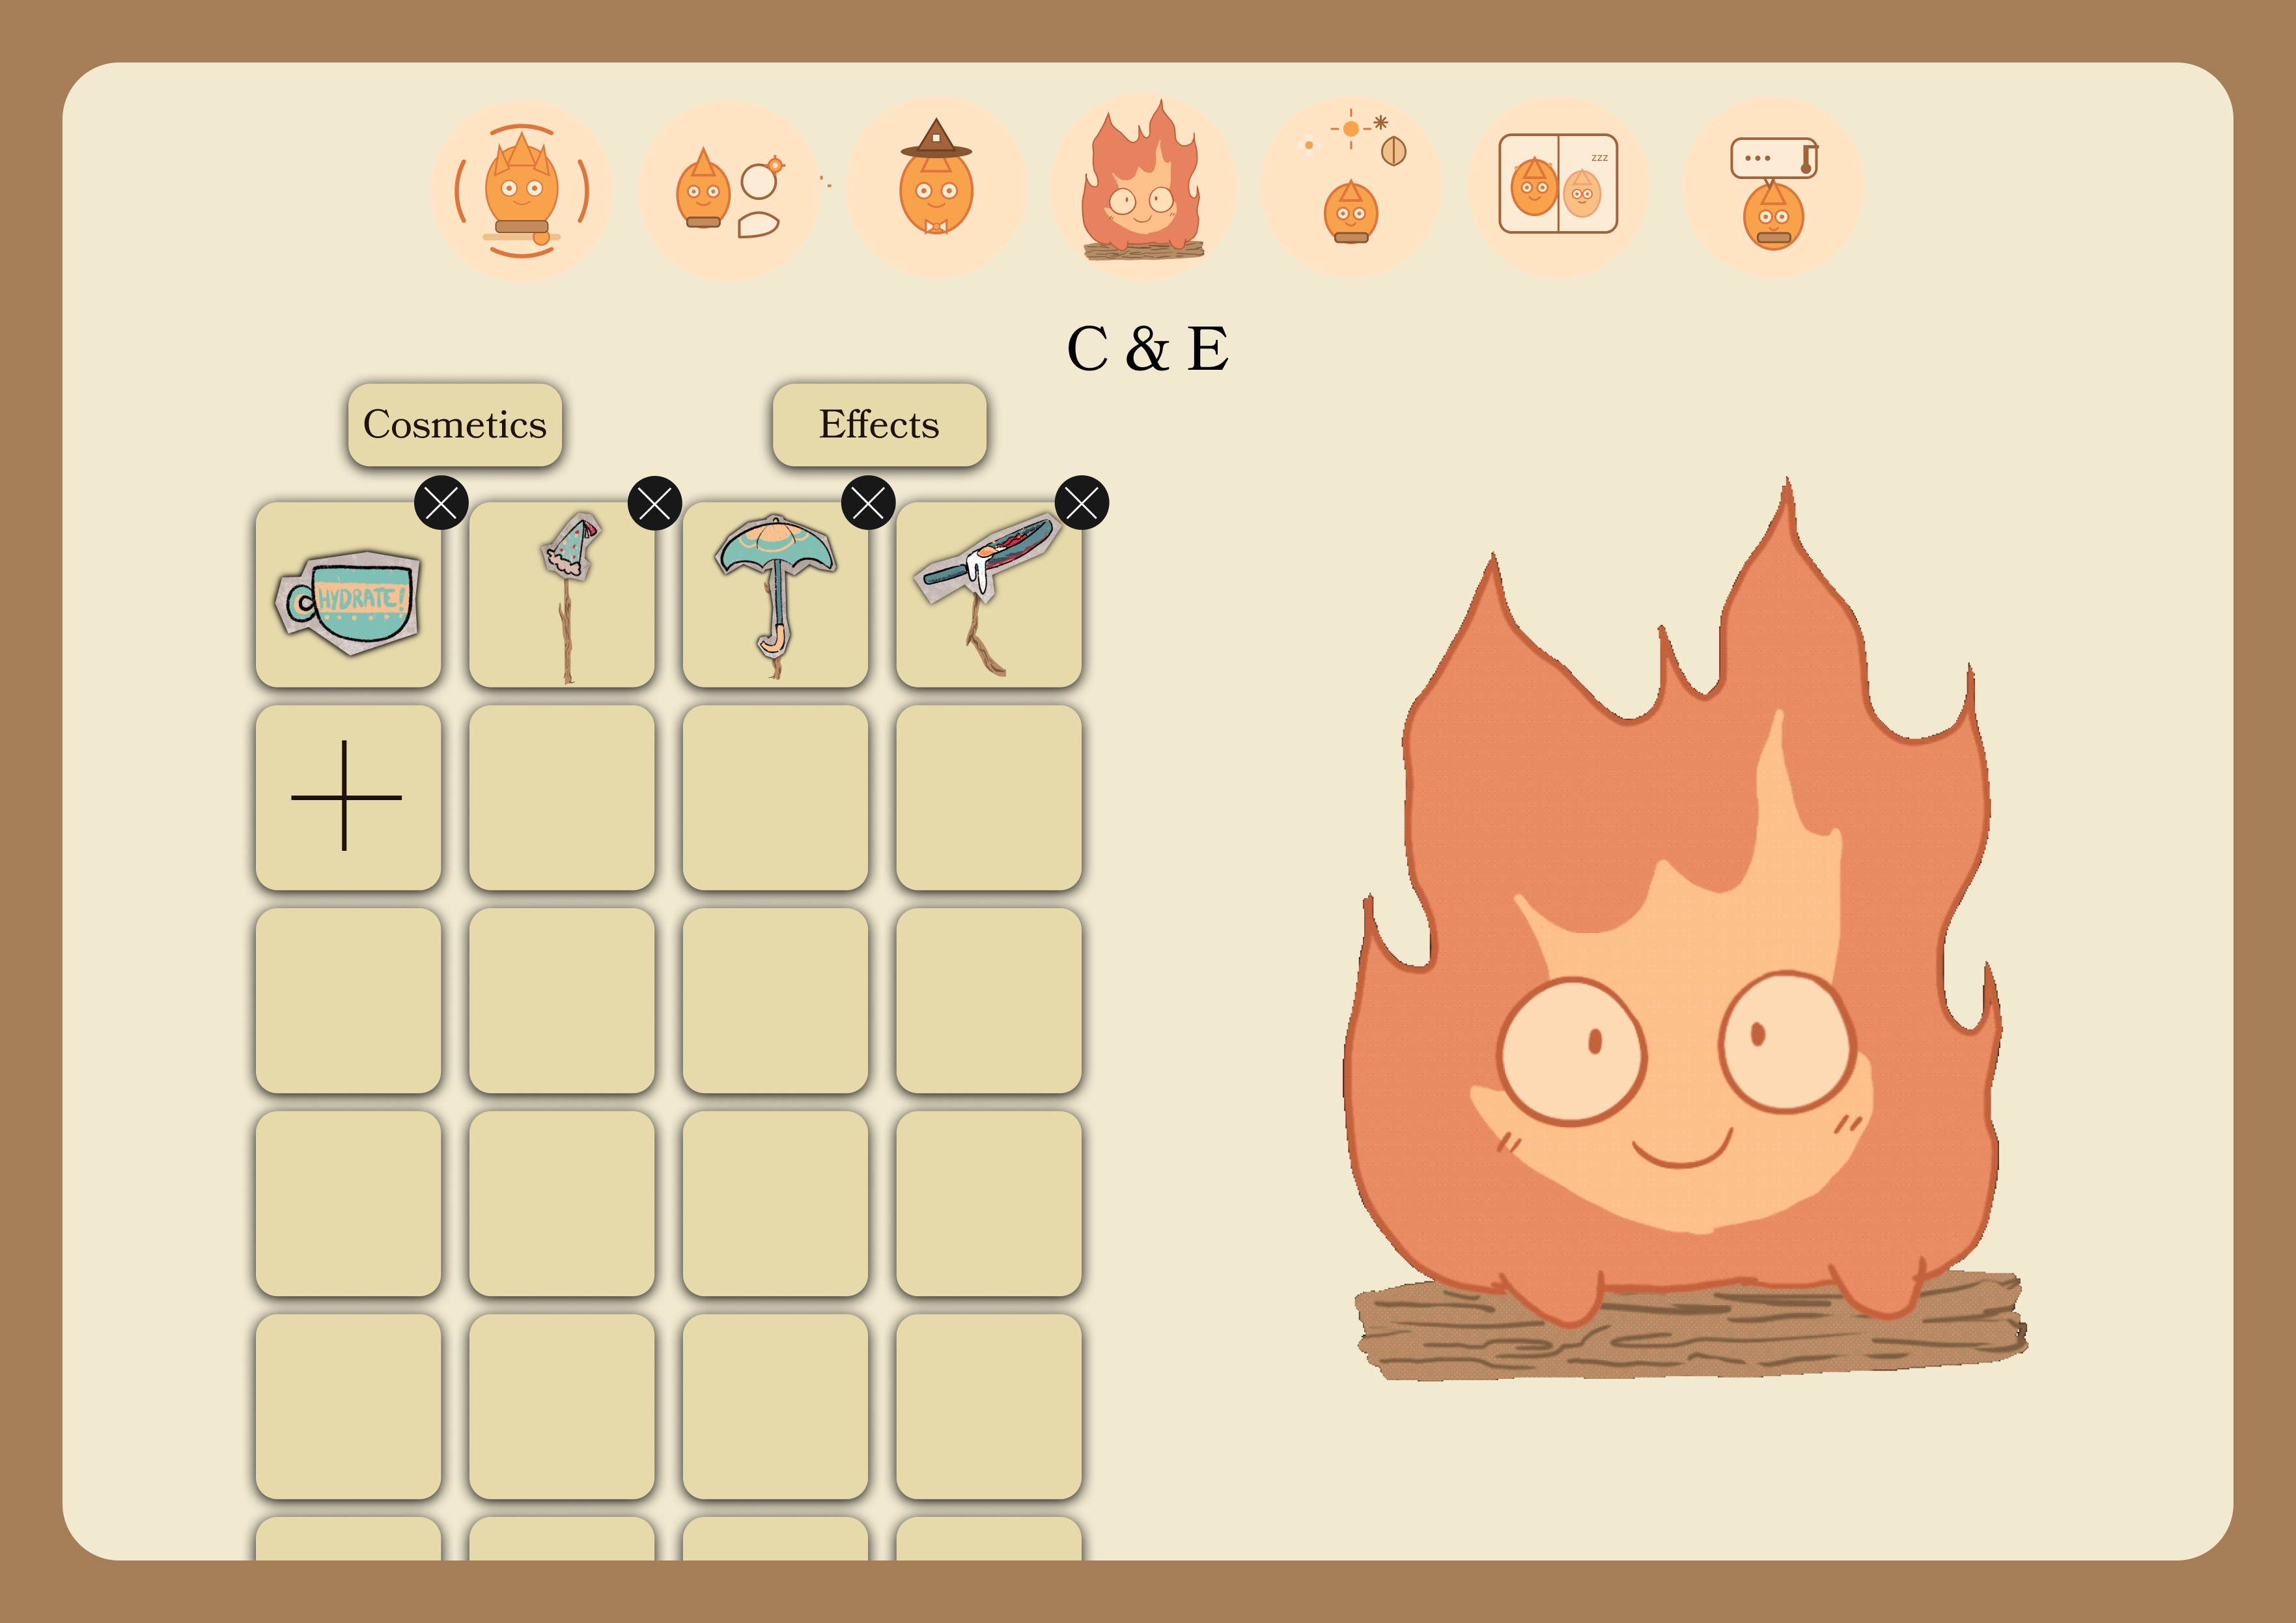
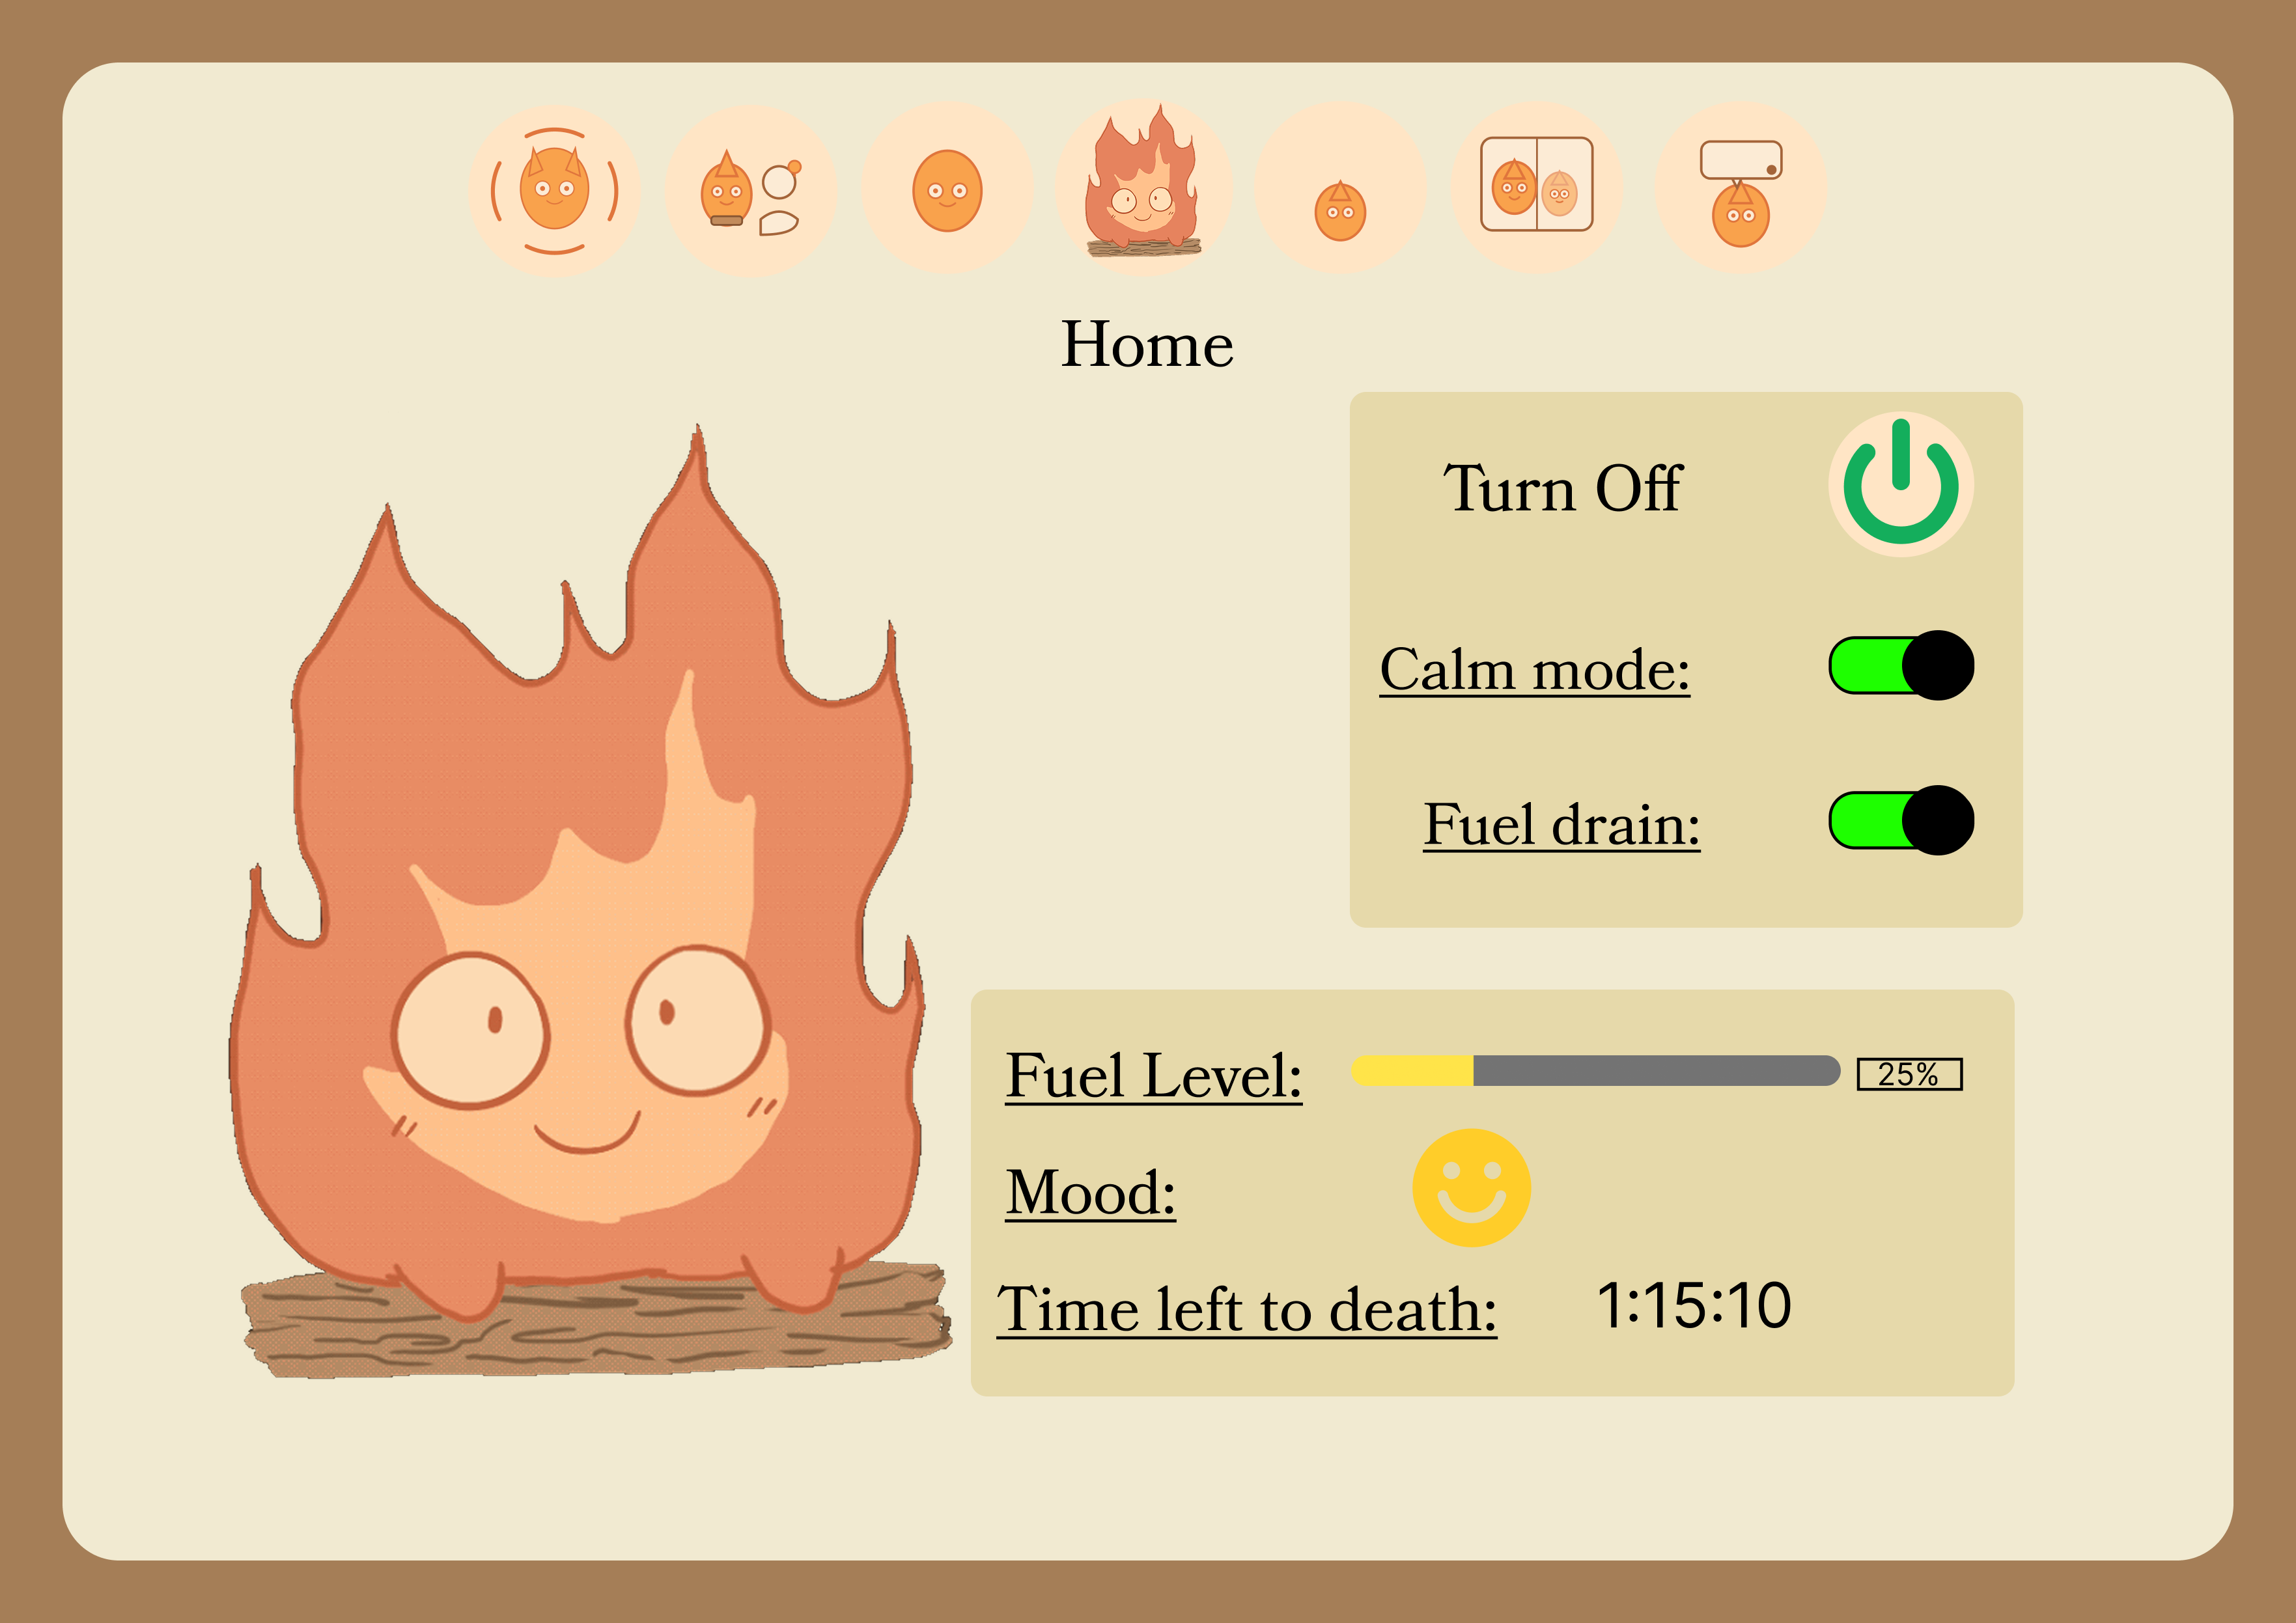
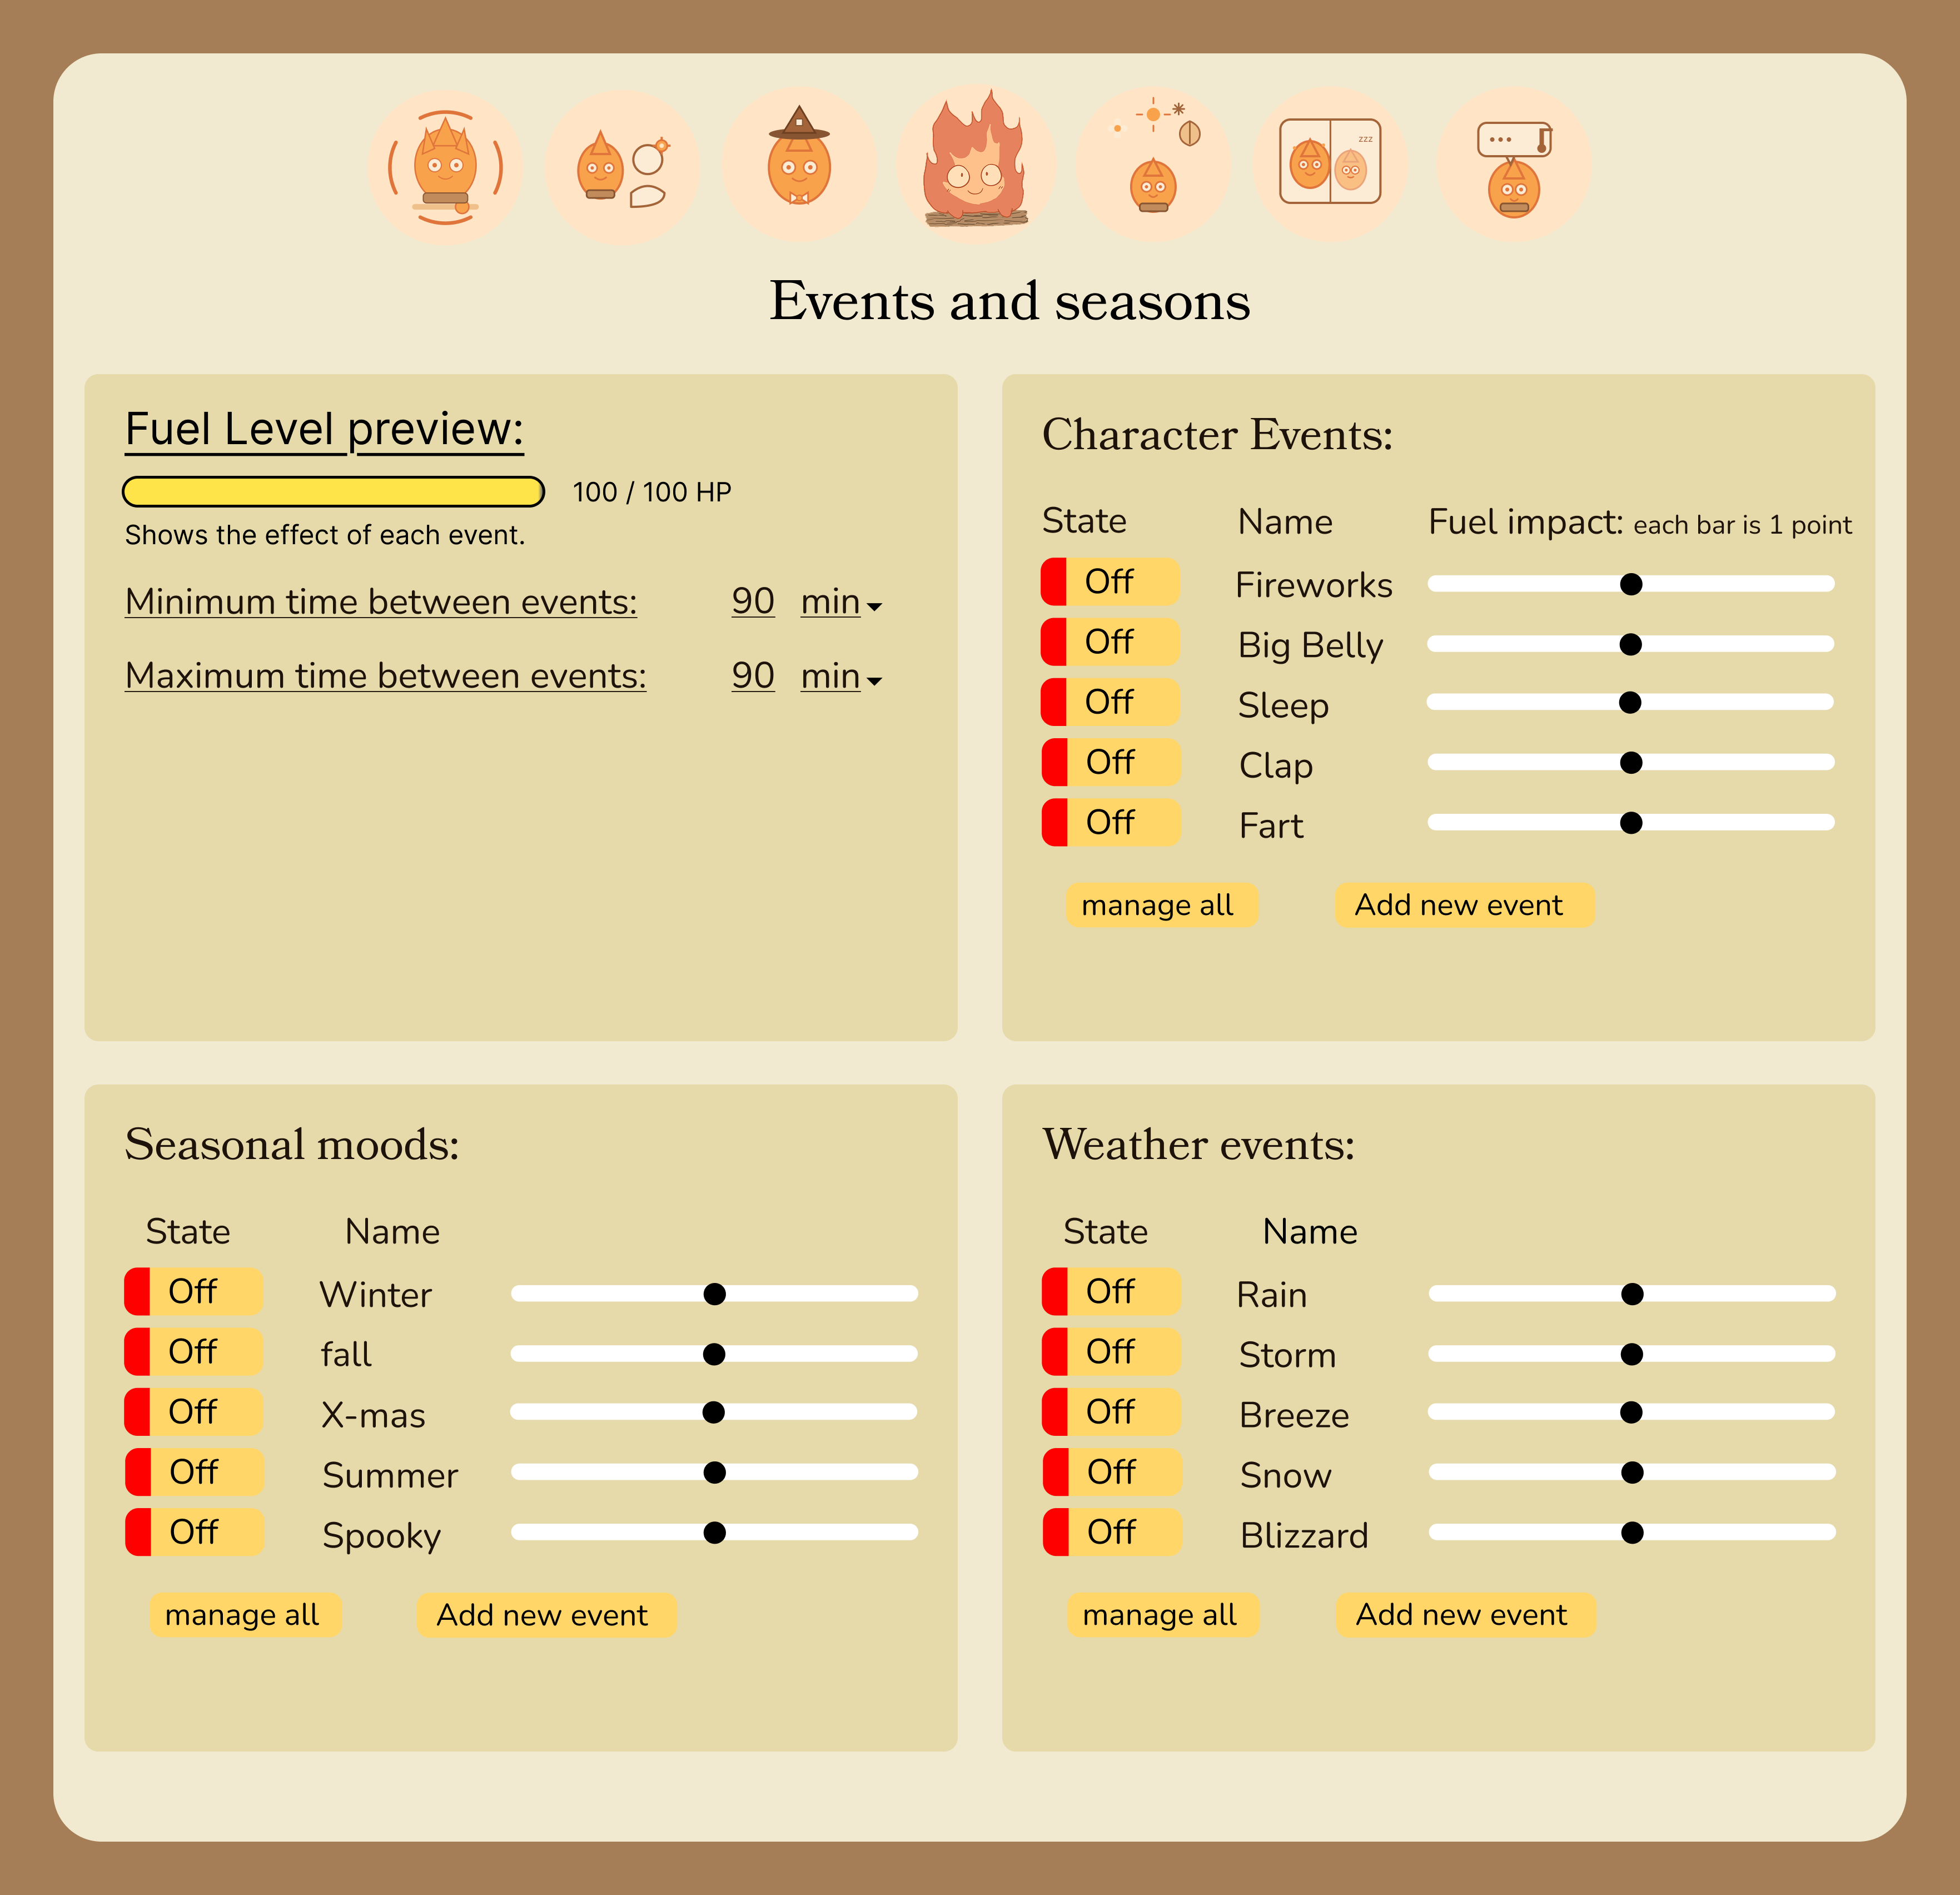
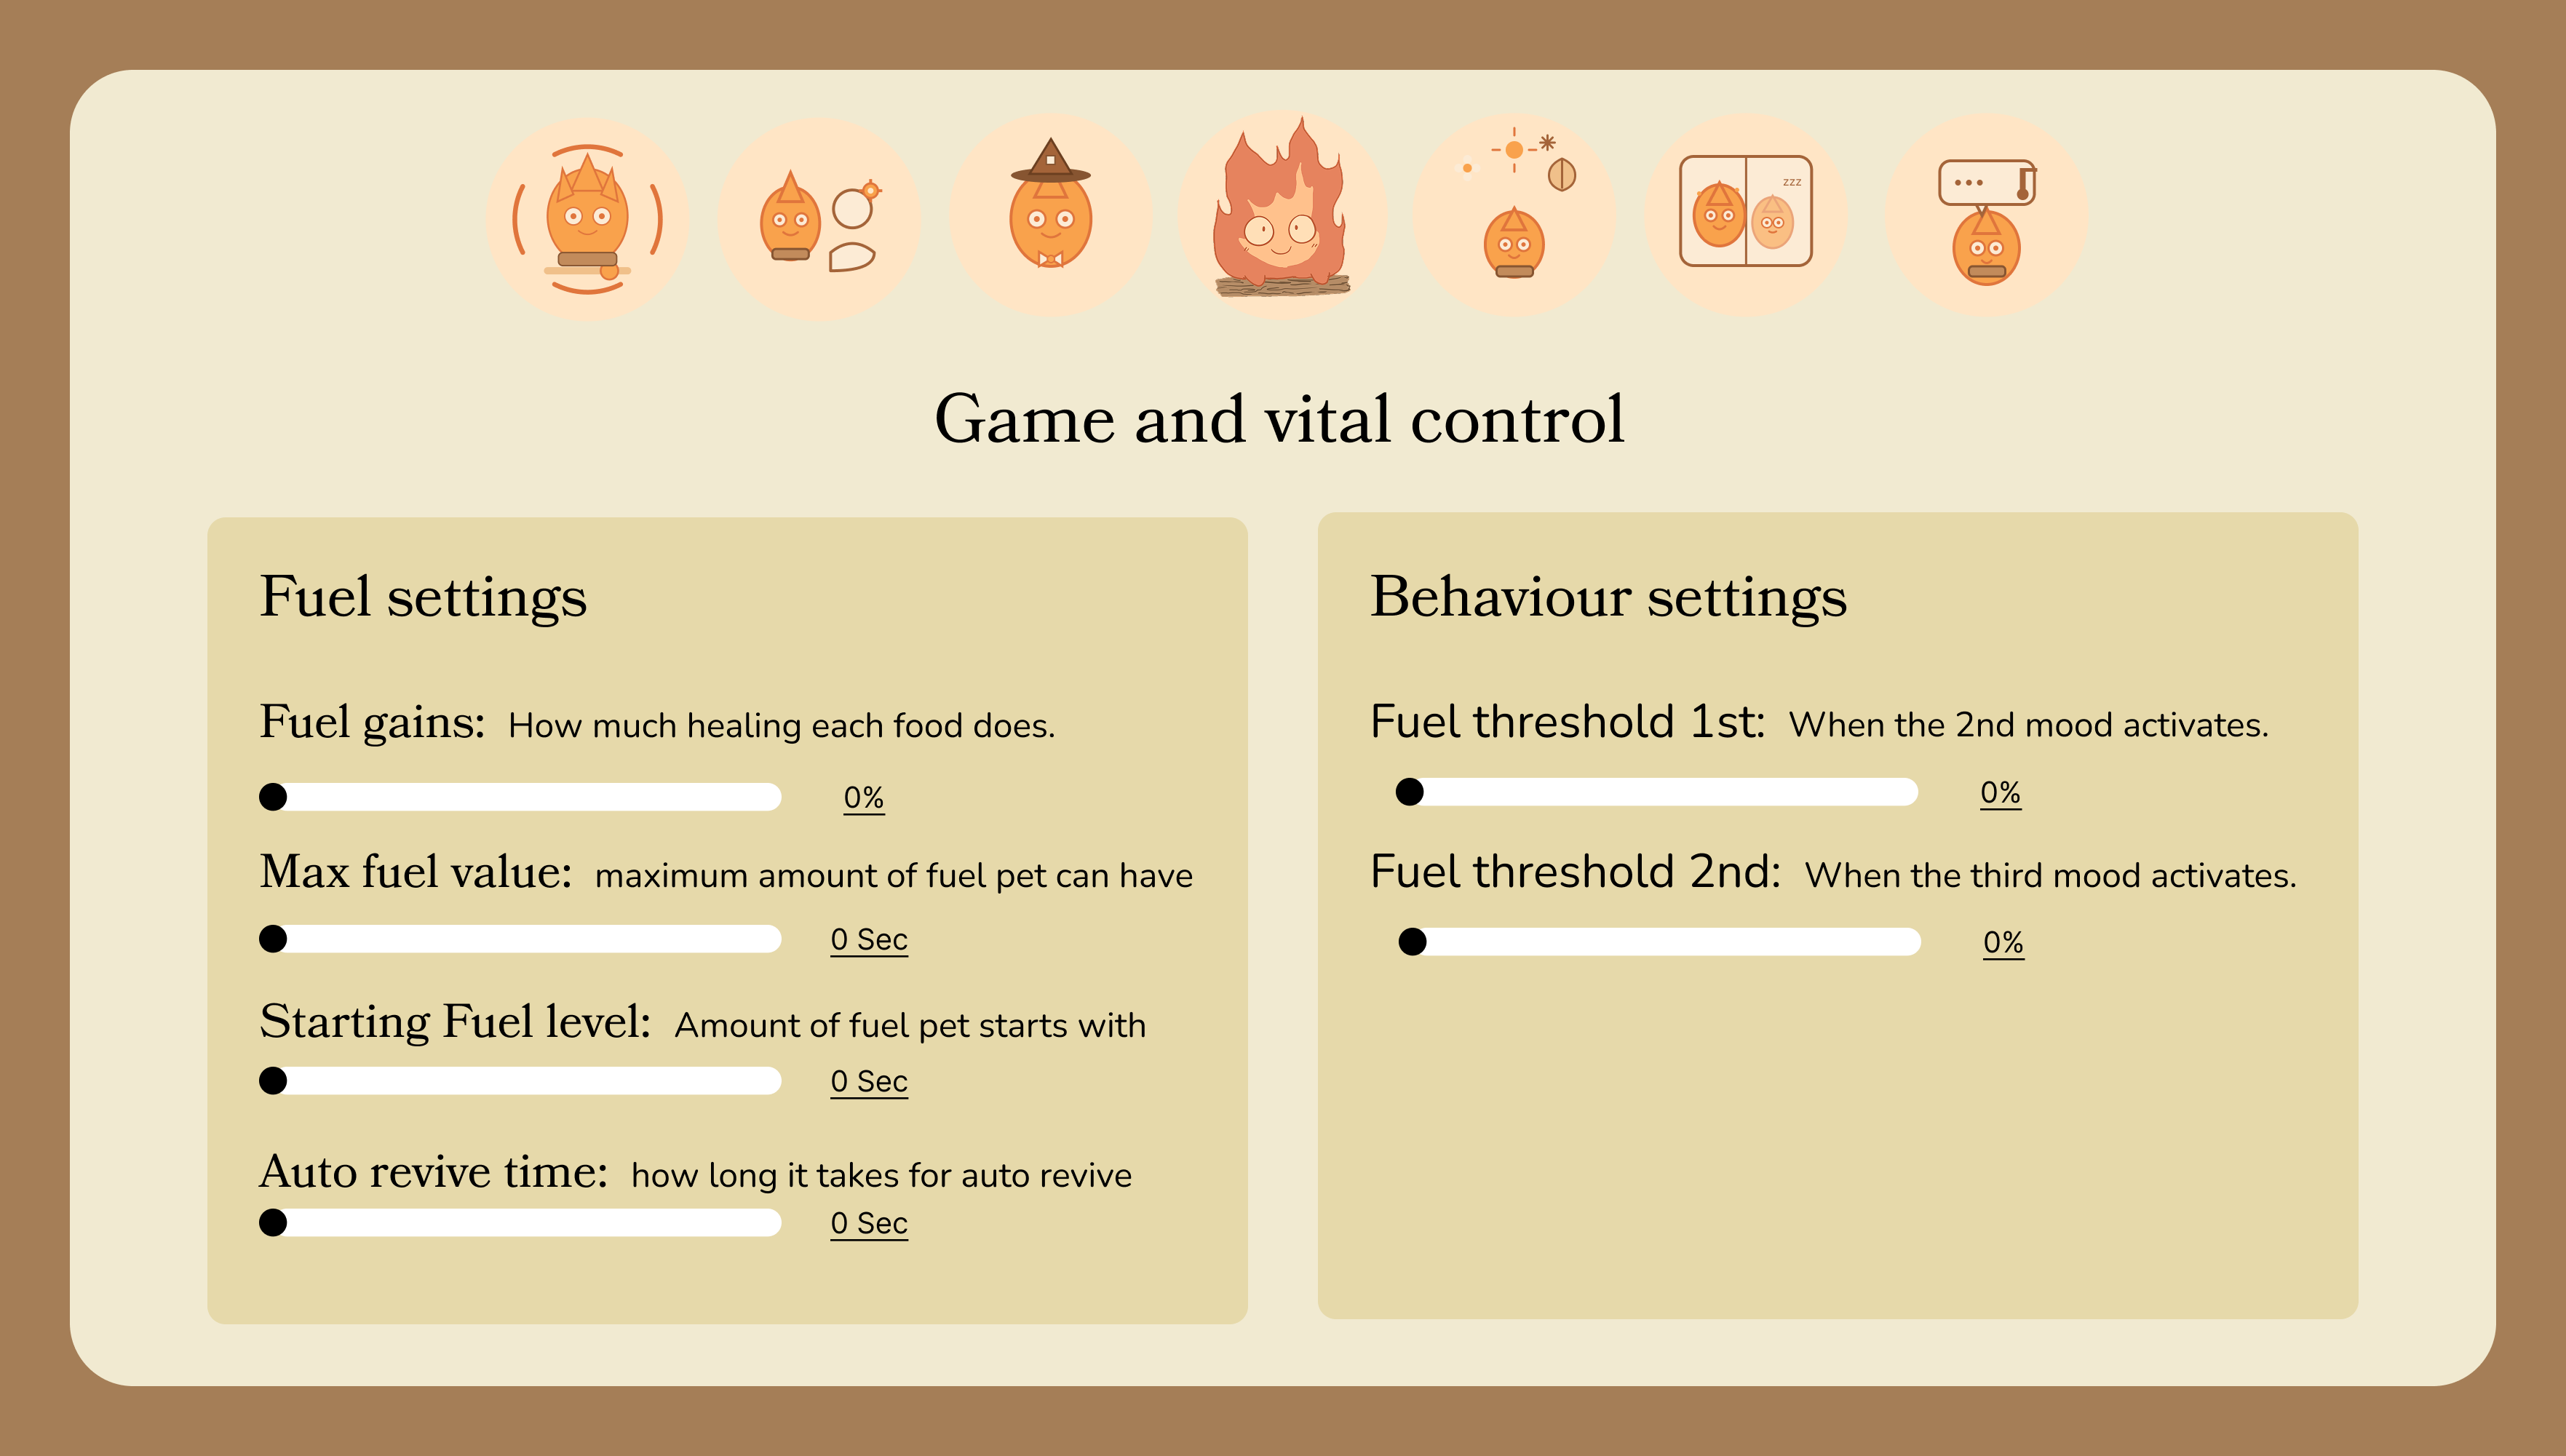
Proof 10
This is the updated GUI version after feedback and more time polishing. I improved the structure, colors, and clarity, and I also made elements feel more “real” with working buttons/sliders in Figma. This connects to LO1 because it's a more user-focused and professional design aimed at making Desca's job easier.
This link leads to my pages in the GUI: Figma GUI
This link leads the working GUI: Figma GUI
Reflection
I believe in this semester I made a good amount of designs be it my portfolio to helping with patchwork, or the biggest in Desca project, I feel pretty happy with what I was able to make.